In honor of January 29th – officially, Kansas Day, I’m sharing a fun technique that incorporates both of my creative loves: paper crafting and photography!

You might remember this post I shared in September about this beautiful 40-acres field of sunflowers near my parents home in northeast Kansas. The sunflower is our state flower! I knew immediately that I wanted to use the photo to create notecards or greeting cards. I wasn’t sure what approach I was going to take, but I wanted to get whatever I was going to do done for Christmas gifts… so I needed to start early, by December 22 at the latest! HAHAHA! December really was a crazy month for our family, so I got to the print stage of my project and it’s been on my desk waiting… patiently.
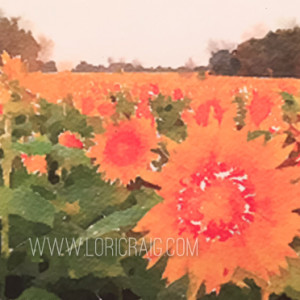
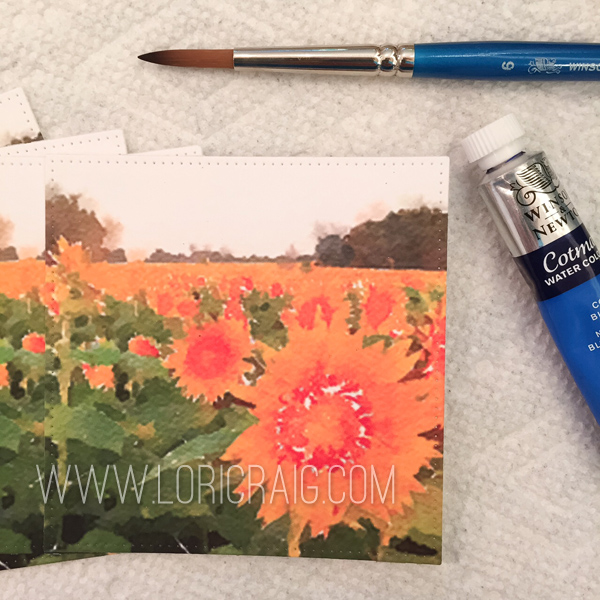
I wanted to use the photo but stay somewhat true to my papercrafty roots, so I ran the photo above through an app on my iPhone called Waterlogue. (It’s available for Android, too!) It is my favorite way to play with beautiful landscape or floral photos that I take, and I often use them for screen savers or as a little text-blessing that I pass along to a friend or family! The ap takes your own photo and transforms it to a beautiful watercolor file – there are several options to play with. You can save the watercolor file in .jpeg format, just like you would a photo image. Here’s a fun site that shows a lot of different images created with the app, Made with Waterlogue.

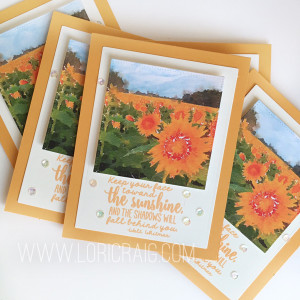
I printed off a stack of 5-6 of the prints in a 3.5″ size on 110# hot press watercolor paper and trimmed them with a Pierced Square STAX Dienamic from MFT. I printed onto my heavy paper with an Epson P600 printer which is perfect for crafty printing because it prints on many different types of media – heavy, thin, canvas, watercolor, etc.
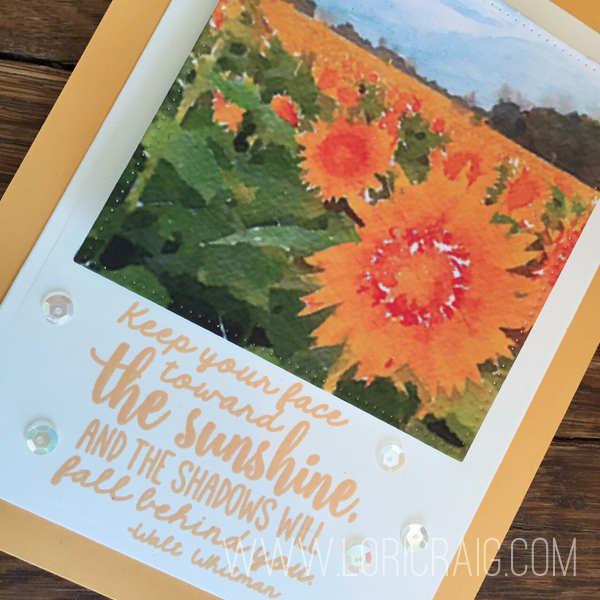
You might notice that in the Waterlogue conversion I lost the cloud and horizon detail. That’s not uncommon because it is very difficult to expose for the flowers in the foreground and the horizon line at the same time, and there doesn’t end up being enough contrast for the app to fill it in. I love the flowers by themselves, but I wanted sky! Pretty blue sky!
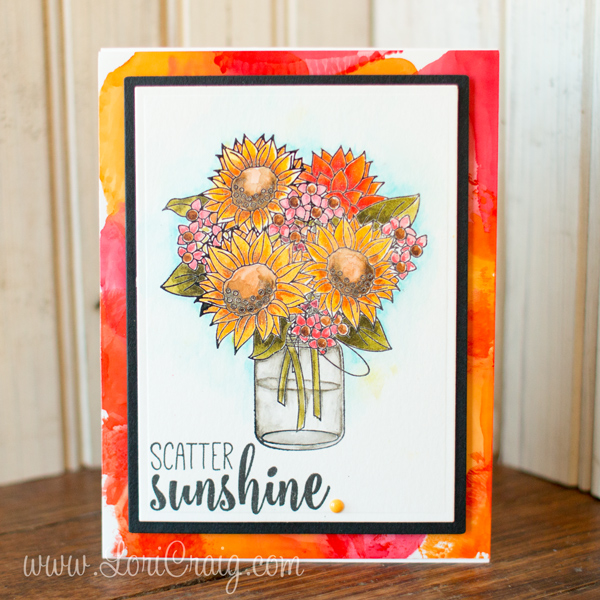
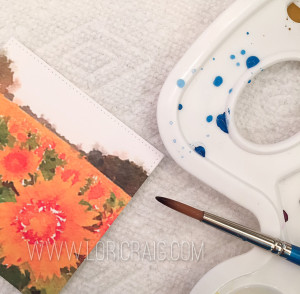 So, this morning, armed with a little bit of knowledge from an amazingly awesome watercolor class I am taking this week at Online Card Classes called Watercolor for Card Makers – Intermediate, I busted out the blue tube watercolor and a small round brush and proceeded to add my sky back in. To get a muddled blue, I wet the sky area lightly with water and then dropped in a little bit of watery blue paint. The ink on this printer stays put for mixed media projects, and I had no printer ink runs or bleeds from the addition of the watercolor paint. (I haven’t had the printer very long, so I’ll test it for Copic and stamping ink compatibility soon!)
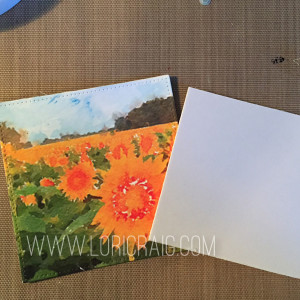
Because these are going to be a gift, I wanted a nice smooth panel with my watercolor design, so I took a tip from Jennifer McGuire and cut squares of fun foam at 2.75″ to mount my watercolor squares to the card fronts. Helps keep the panel flat and smooth!
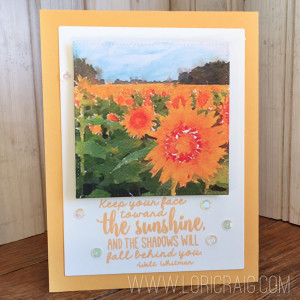
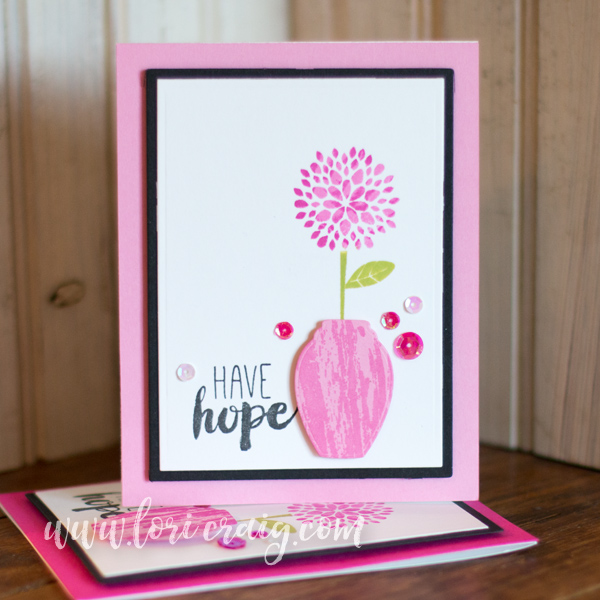
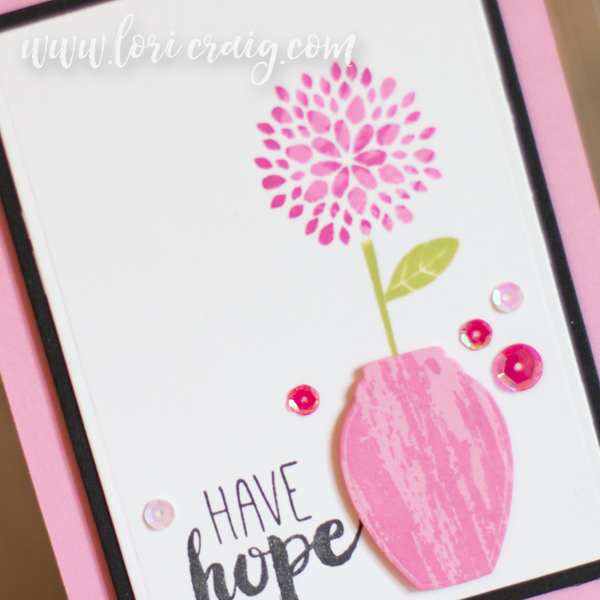
I added a sentiment from Simply Stamped Sunflowers from Taylored Expressions to a cream panel and accented with sequins, then I applied the cream and photo layers to a card base of Summer Sunrise cardstock from Papertrey Ink – fitting since I took this photo just after sunrise! – for a fairly quick project.
 I like the term Combo Watercolor for this process – a combination of digital and traditional painting, and I can’t wait to comb through my photos and makesome more!
Tip: Print a small image test from your printer and on the paper media that you want to use. Test for a reaction to watercolor or other mediums before you go to elaborate creative measures. Just as you would test a digital stamped image!
If you try it, I would love to see your work. Send me a link to your project on your blog or at Splitcoast.
So thanks for visiting with me today, and Happy Birthday to my beautiful homeland! Happy Kansas Day!