Catching up today, and apologies for being behind…They say most people let go of their New Year’s resolutions after 15 days. I didn’t even make it that far. I trust all of you will be better than myself with the crafty things you want to accomplish! You shared some awesome goals and ideas with me on my Seasons Giving Blog Hop post! Thank you to all who stopped by and left some love!
Congratulations to CarenB – Caren with a C for being my giveaway winner!
Here in Kansas, the weather has been just as cold as it is where you are! Something just north of FRIGID! On Saturday morning, I settled in for some serious crafting.
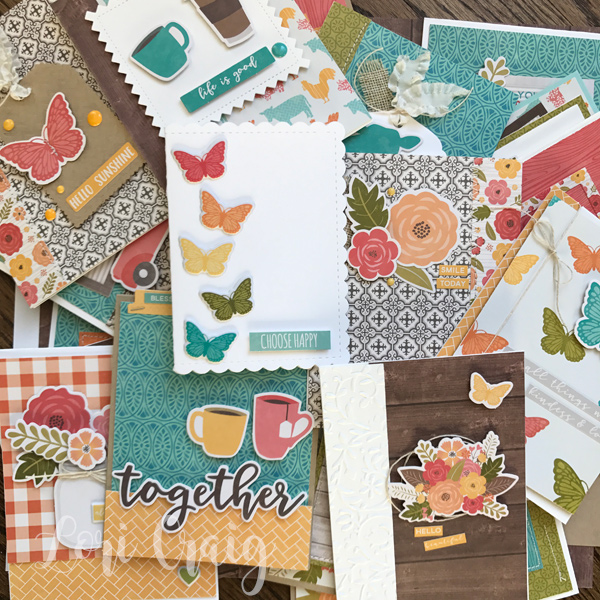
Back in the fall, I made a quick business trip to Oklahoma, and I picked up the cutest paper pack from Jillibean Soup called Farmhouse Stew. Then one morning on Pinterest, I noticed my friend Kimber had created a card project sheet from the kit. I politely saved that pin, and tucked it into my “do on a frigid day” folder… and this past weekend, that day arrived. Using a scrapbooking kit for cards was something I hadn’t done in a long time… I was rusty, but once I got started, I couldn’t stop, and my Saturday morning session yielded 26 cards!
I’m going to minimize the chatter because I’ve got a flight to catch to Creativation in super sunny and WARM Phoenix! There I will be hugging Kimber for being so awesome! I hope you enjoy and spark some ideas!
Hello Sunshine!
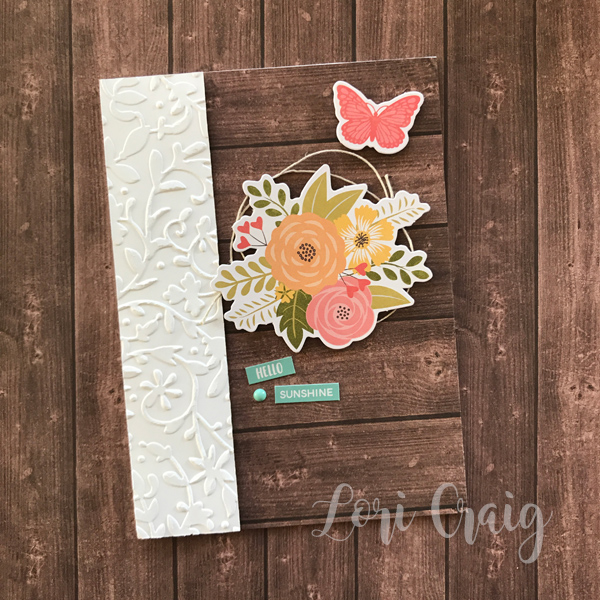
Paired with a strip of embossed white cardstock – this was my favorite.
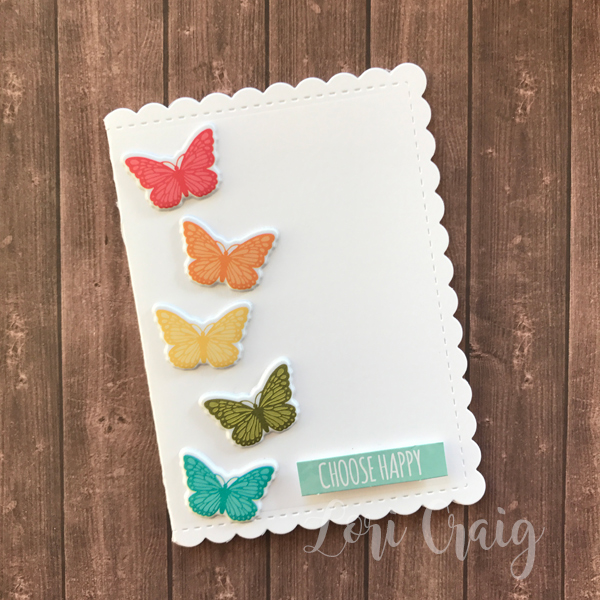
Choose Happy!
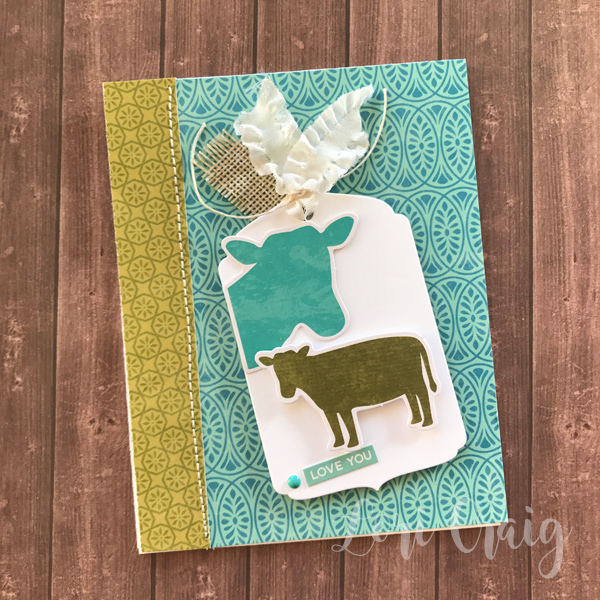
Love You!
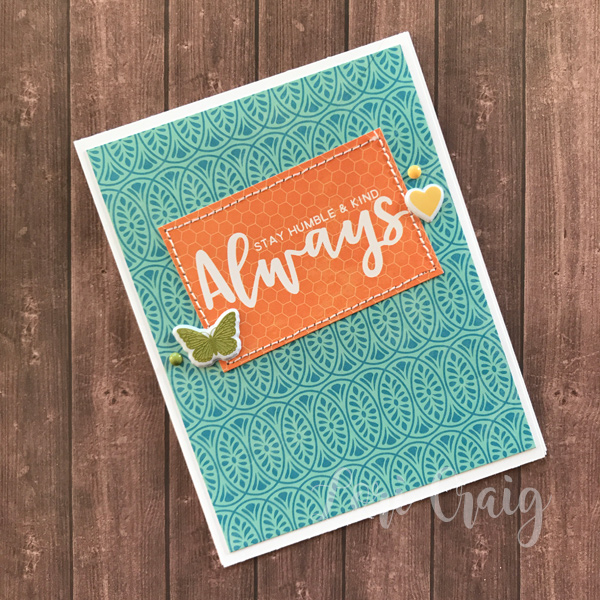
Stay Humble & Kind
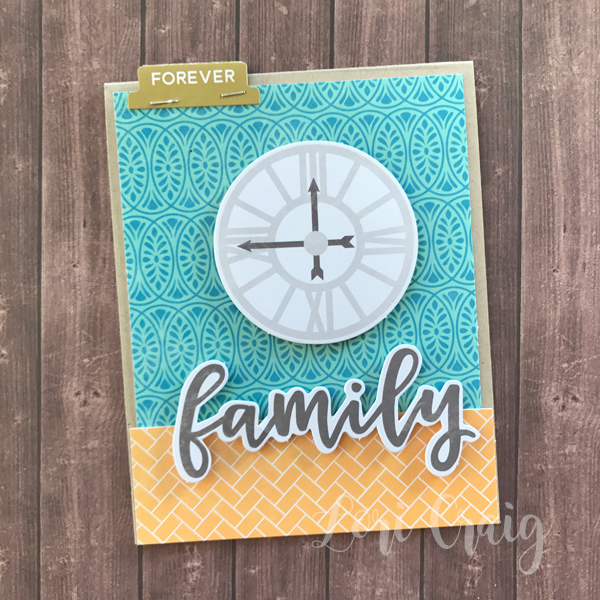
Forever Family!
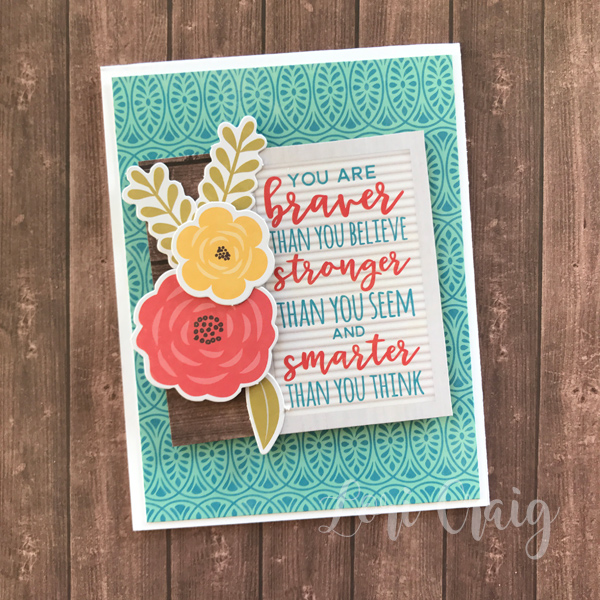
You are Brave!
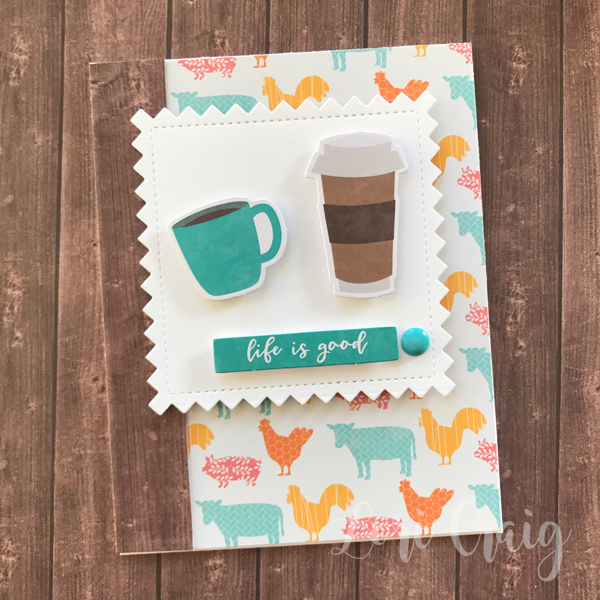
Life is Good!

Smile Today!

Work Hard and Stay Humble!
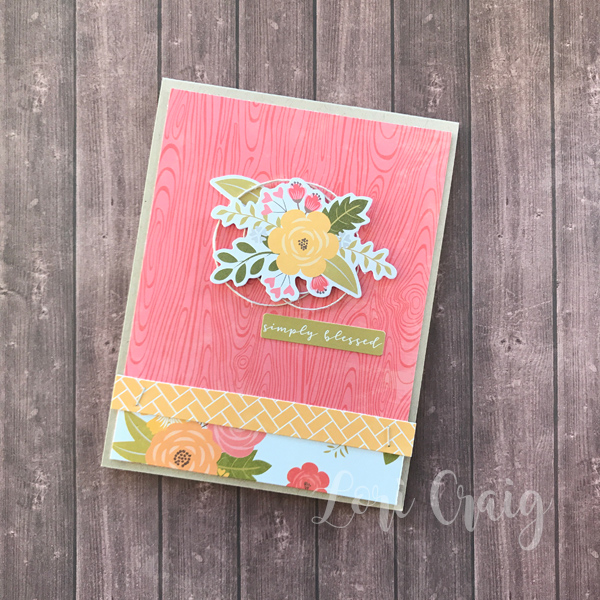
Simply Blessed!
 Hello Sunshine!
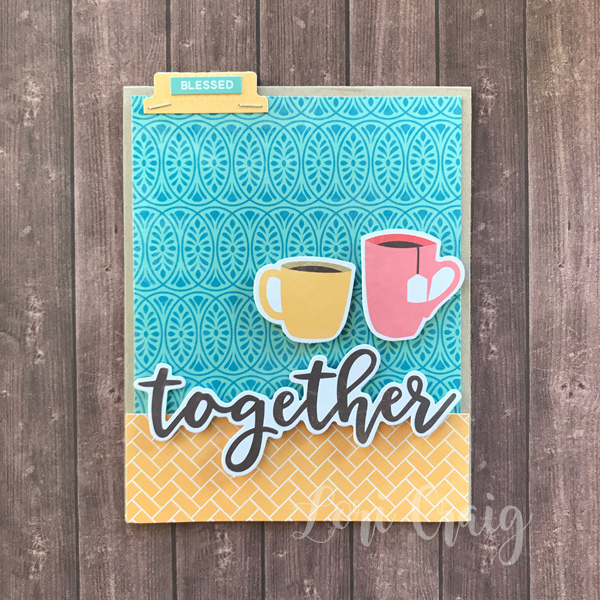
Blessed Together!
I added my own white or kraft cardstock to the kit contents – choose a nice thick weight cardstock for your card bases. I like Sugar Cream and Toffee from Taylored Expressions. I also added a few enamel dots and some random stitches with my Sew Mini! Easy!
I have to say, I felt like a rock start finishing up 26 cards in one morning! There is nothing like a gaggle of cute cards in your stash to fire up the mojo! I could have made 26 more with the left over paper – I just ran out of words and stickers. I’ll definitely have to try this again! Thanks to Kimber for the awesome jump-off point!
I have several fun new products to share from Imagination International after Creativation, so I’ll be back soon! Thanks for stopping by!
Stay warm!