
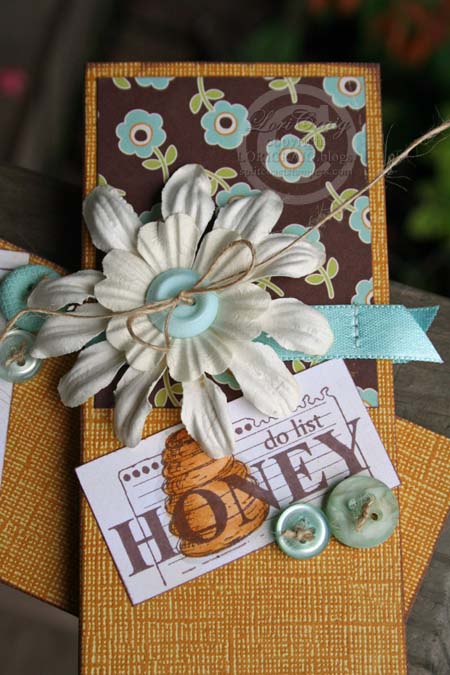
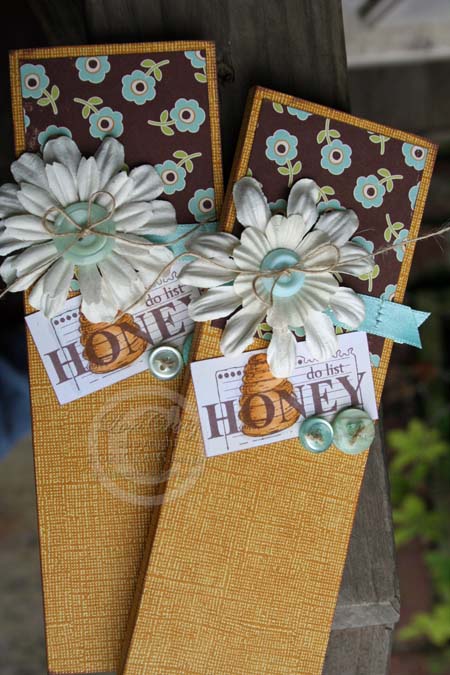
Julia has been doing some beautiful stamp design work with the Rummage Bin line at CHF. I adore this Sweet Bee set, and I thought I’d make up a few Honey Do Lists for the girls’ teachers. I was really looking for a way to use some of my layered and buttoned flowers and a few bits of the new October Afternoon: Farm Fresh. 😉
On Saturday afternoon, I took a jar of big creamy Prima flowers and layered them and sewed on buttons while I wanted a movie with the girls. My oldest always wants to know why I don’t ‘just watch tv’. Well, the truth is it’s hard for me to just sit still and not do ‘something‘. So, I watched a cute movie, completed about 15 or so big ole button blossoms and had some wonderful quality time with my family.
I even finished the inside with October Afternoon’s Farm Fresh – South Forty and Farm House patterns (available late August) paired up with Core’dinations Cardstock from the Vintage Collection – Autumn color:
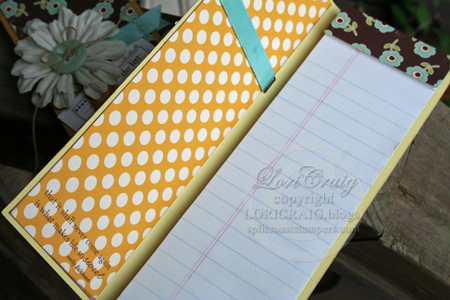
inside quote: that is shall never come again makes life so sweet ~ emily dickinson
This skinny notebooks came from my stash. Like many of you, I buy the little legal pads at an office supply store and have them cut them down the middle for me. The store will cut the whole stack at one time with a nice crisp cut. The covers dimensions are easy: 8″ tall by 5 5/8″ wide – score at 2 5/8″ and then flip and score at 2 5/8″ from the other side. That leaves you with a 3/8″ ditch for the width of the legal pad. I attach the notebooks to the covers with a sticky tape. They aren’t going anywhere.
Mmm, paper buttoned blossoms and a lesson in fractions – all in one day. I know Mish makes these notebooks a lot and has included lots of tips and tricks over time to make the covers, so I won’t re-invent the wheel.
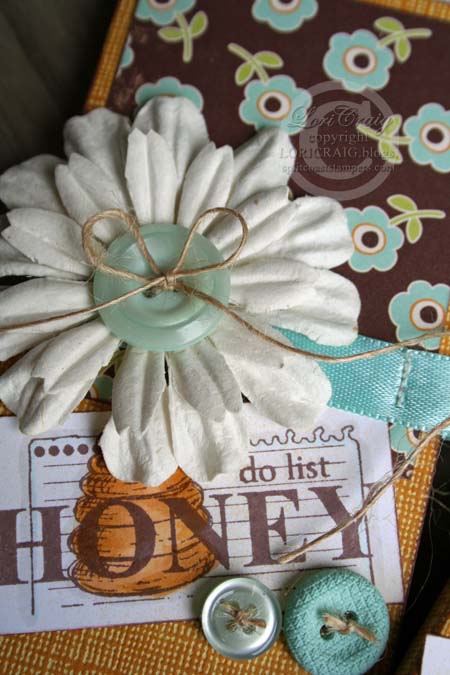
I did have a little ah-ha! moment while I was working on these last night. I originally stamped the Honey Do List four or five times on white cardstock with brown Memento ink and colored with Copics (YR21, YR23, YR24 and W1) and then realized that I should have used cream cardstock. Since I got an air compressor for my Copics, I’ve been much more liberal with the air brushing, and I thought I’d try to change the tint of the cardstock because ivory would look much nicer with my flower and my printed paper. Easy peasy:
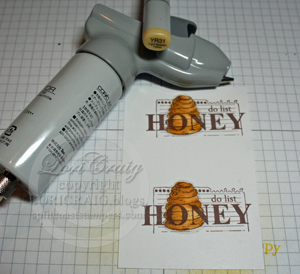
Here are my images stamped on white cardstock and Copic Marker YR31. Many people love YR31 to give a warm glow or highlight to their colored images, and I wondered if I could make my white paper cream with an all-over coverage.
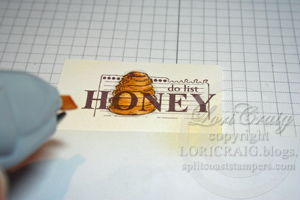
I masked off the bottom stamped image with a sheet of white typing paper and gave the whole thing a quick over mist with the air gun.
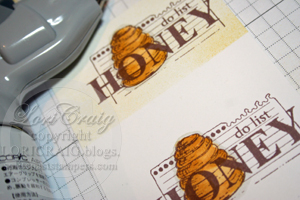
Notice the subtle difference between the top and the bottom images? Now, in this case my hive was colored in gold tones so I didn’t bother to mask it off before I misted with the YR31, but if I were working with softer pastel colors on my main image, I would probably take that step as not to taint the color of the focal image.
So elementary, I know, but I was thrilled to salvage my colored images and have them matchy-match my little notebook covers. It’s the little things, right?
Have a great day!


13 responses to “Honey Do Lists”