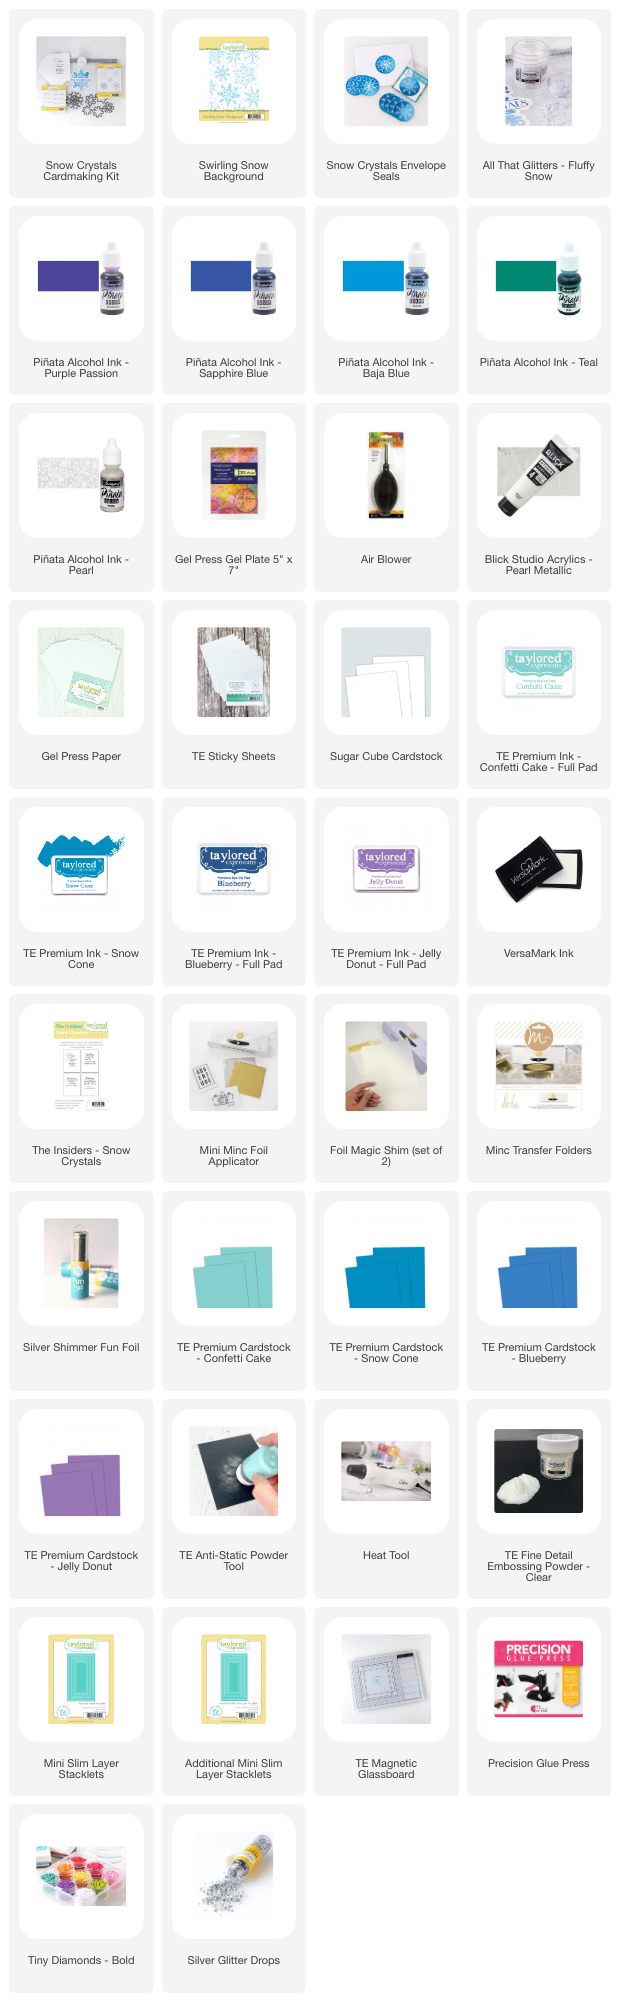
It’s time for a Taylored Expressions Kit, and they knocked it out of the park this month with a beautiful snow-themed collection of goodness! The kit is called Snow Crystal and it’s perfect for holiday and winter cards. All of the products I’ve used are linked below. Let’s take a peek at the cards I made for this release!
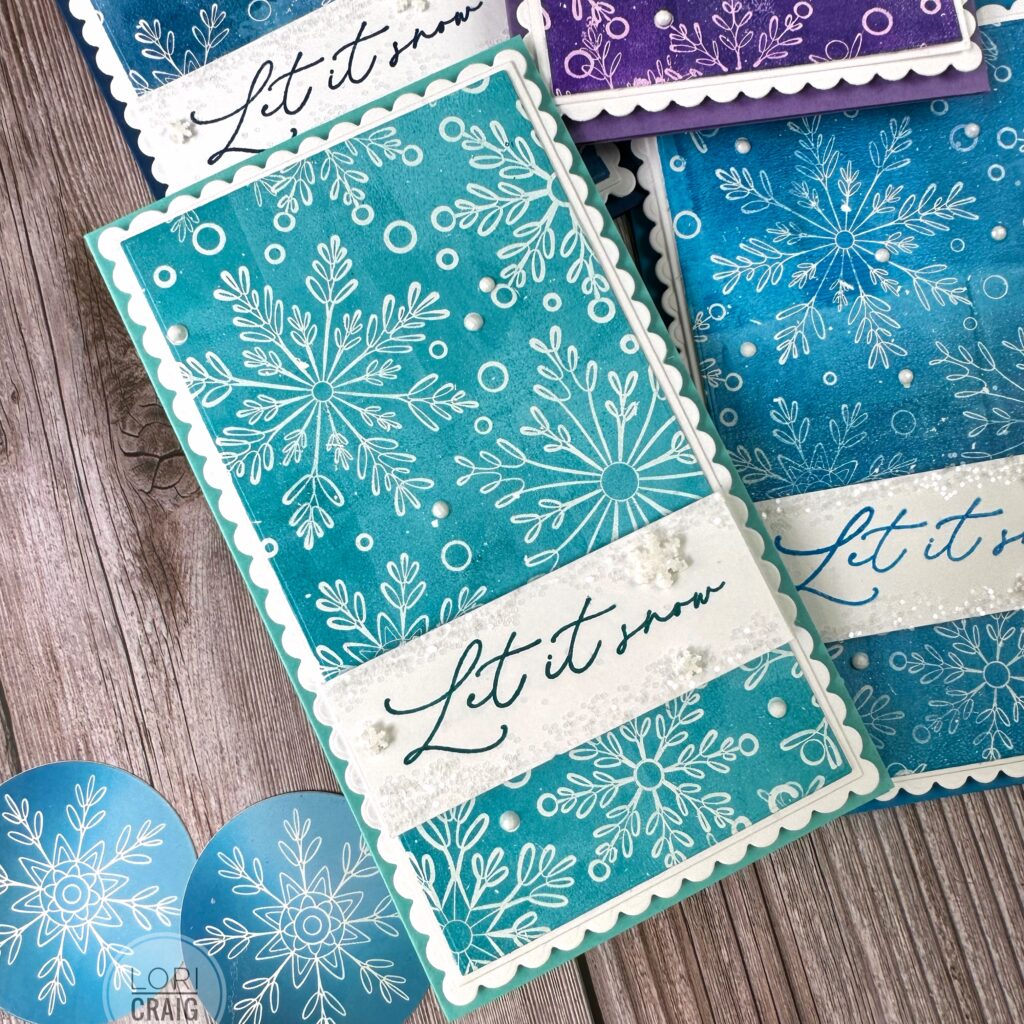
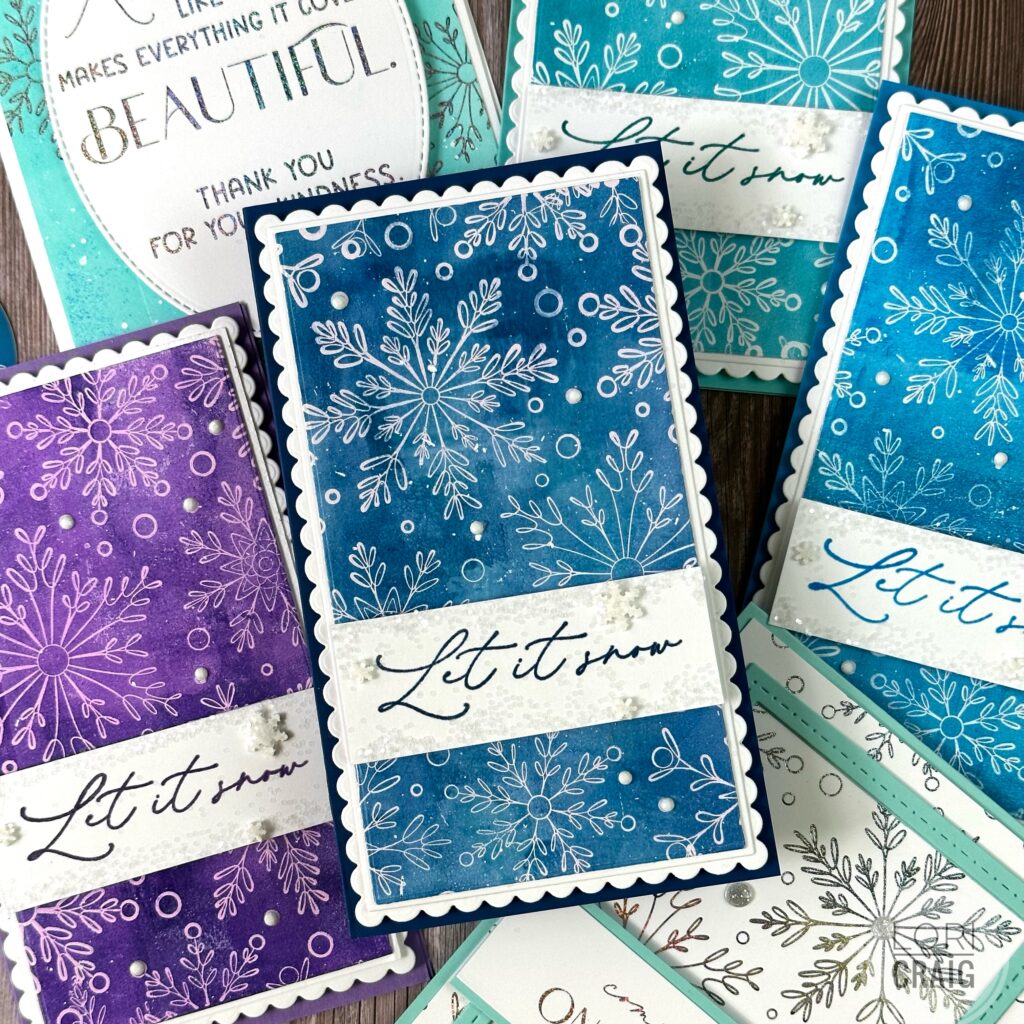
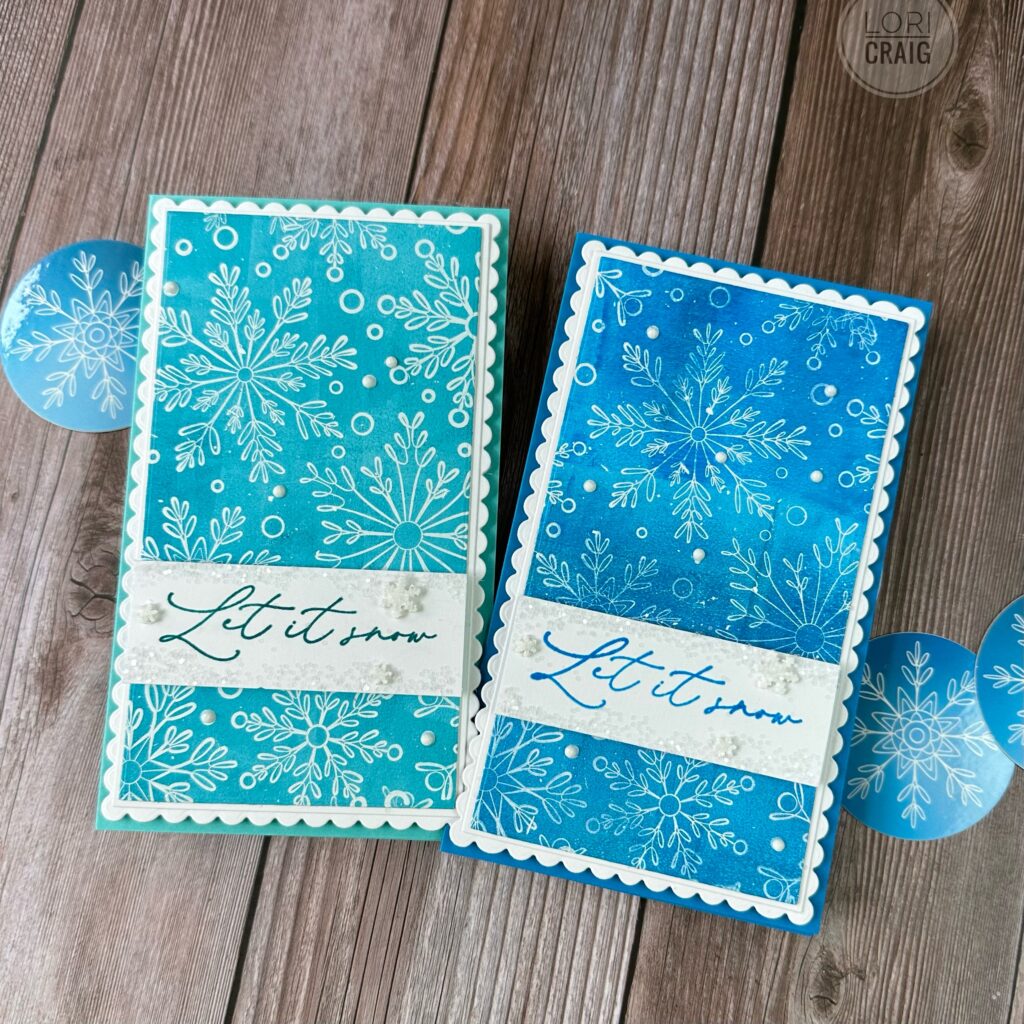
I had the best time working with the included background stamp and my gel press to create these gorgeous panels with Pinata alcohol inks. Everything you see in white on this panel is actually alcohol-lift from the stamp. I used the Pinata Alcohol Inks and my Gel Press to create these panels. It was so fun and so stunning, I created a pile of prints in every color! Step-by-step below!
This really is an easy process. There are just a few tricks to get crisp, clean prints with the Pinata Alcohol Inks and a Gel Press. My tricks are in bold!
- Pinata Alcohol Inks
- Gel Press
- Brayer
- Pearl White Paint
- Puffer Tool
- TE Gel Press Paper
- TE Sticky Sheet
- TE Sugar Cube Cardstock
- Squirt several drops of alcohol ink on Gel Press. Brayer over the color to spread evenly over the surface. After spreading smoothly with the brayer, ALLOW THE ALCOHOL INK TO DRY on the surface of the plate. If I’m in a hurry, I will use the puffer tool to speed this up, but it does happen fairly fast.
- When alcohol is dry, press background stamp into the plate. Drop the stamp straight down, do not rock it onto the surface or you will get movement in the fine lines. Lift the stamp straight up.
- Apply 1-2 drops of Pearl White Acrylic Paint to the gel plate and use the brayer to spread it evenly across the surface. You do not need much. This should be a very thin layer of paint. If it is thick, run some of the excess off on scrap paper with the brayer.
- When the white paint layer is thin, lay the TE Gel Press Paper over the Gel Press, cover with a scrap piece of paper and rub with your hand evenly over the entire surface.
- Peel the scrap paper up.
- Gently lift the TE Gel Press Paper to reveal the design. Set aside to dry.
- Apply TE Sticky Sheet to the back of the pressed design. Apply both layers (print and sticky sheet) to a piece of TE Sugar Cube cardstock for thickness.
- Trim and create your card.
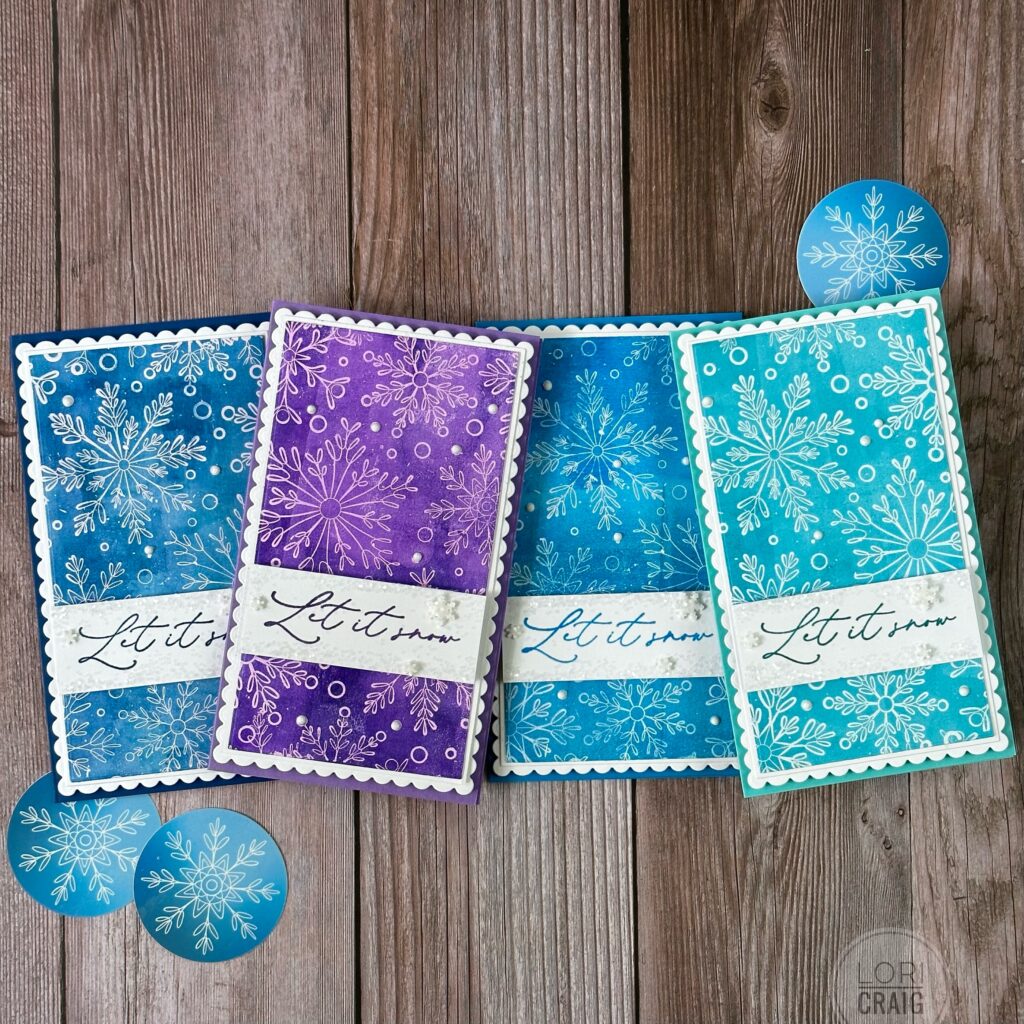
The colors I used here are (left to right) Blueberry, Jelly Donut, Snow Cone, and Confetti Cake. Trimmed out with the Mini Slim Stacklets and Mini Slim Scallop Rectangle dies, they are a blizzard of beauty on my desk. I finished the cards off with a sentiment from the kit – stamped first in coordinating ink color, overstamped with Versamark and heat embossed with fine detail clear embossing powder. I added All That Glitters Fluffy Snow.
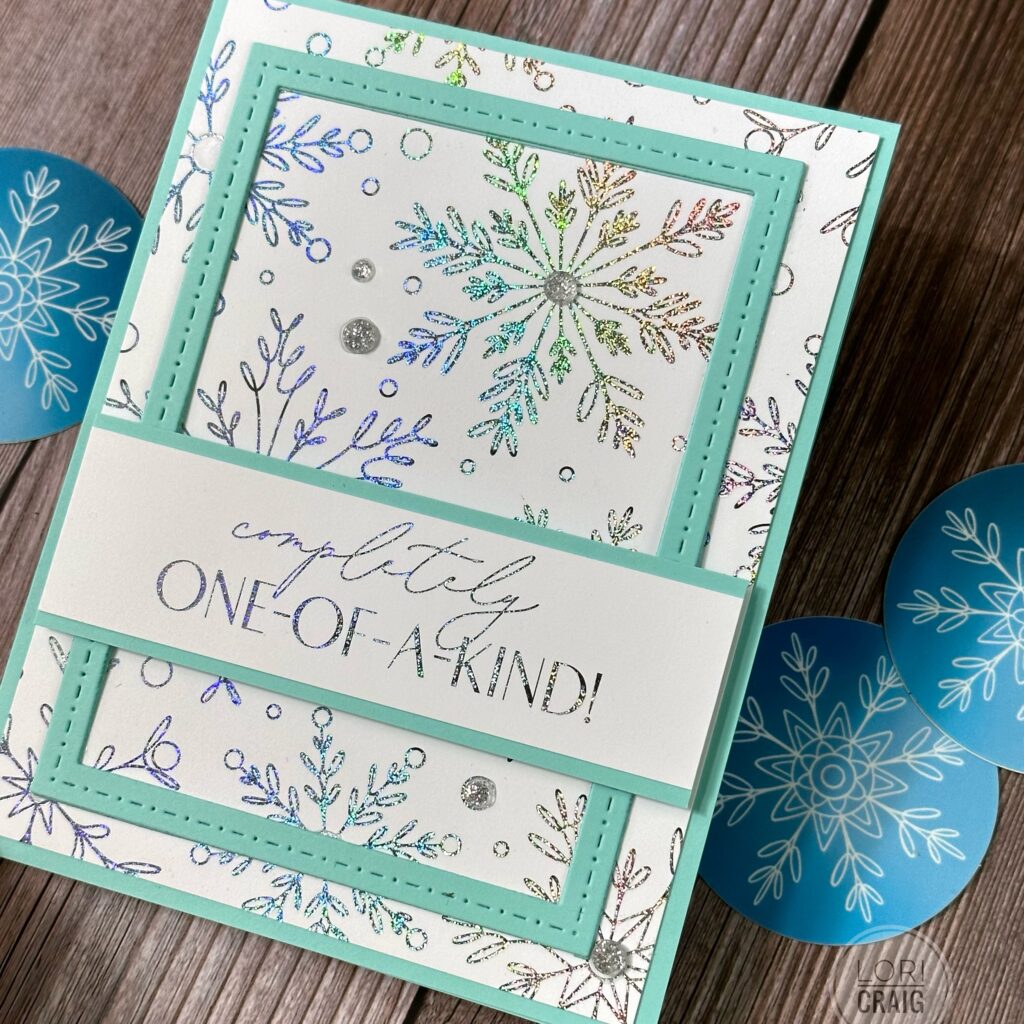
For my next card, I used the coordinating Foil Its to the Snow Crystal kit and foiled them with Silver Sparkle foil for an iridescent shimmer. The confetti cake background panel was 1) foiled and 2) brayered over with Confetti Cake TE Premium Dye Ink for a soft wisp of color in the background. The panel was splattered with pH Martins white for swirling flakes.

I love how this foil shimmers like a rainbow! So pretty!
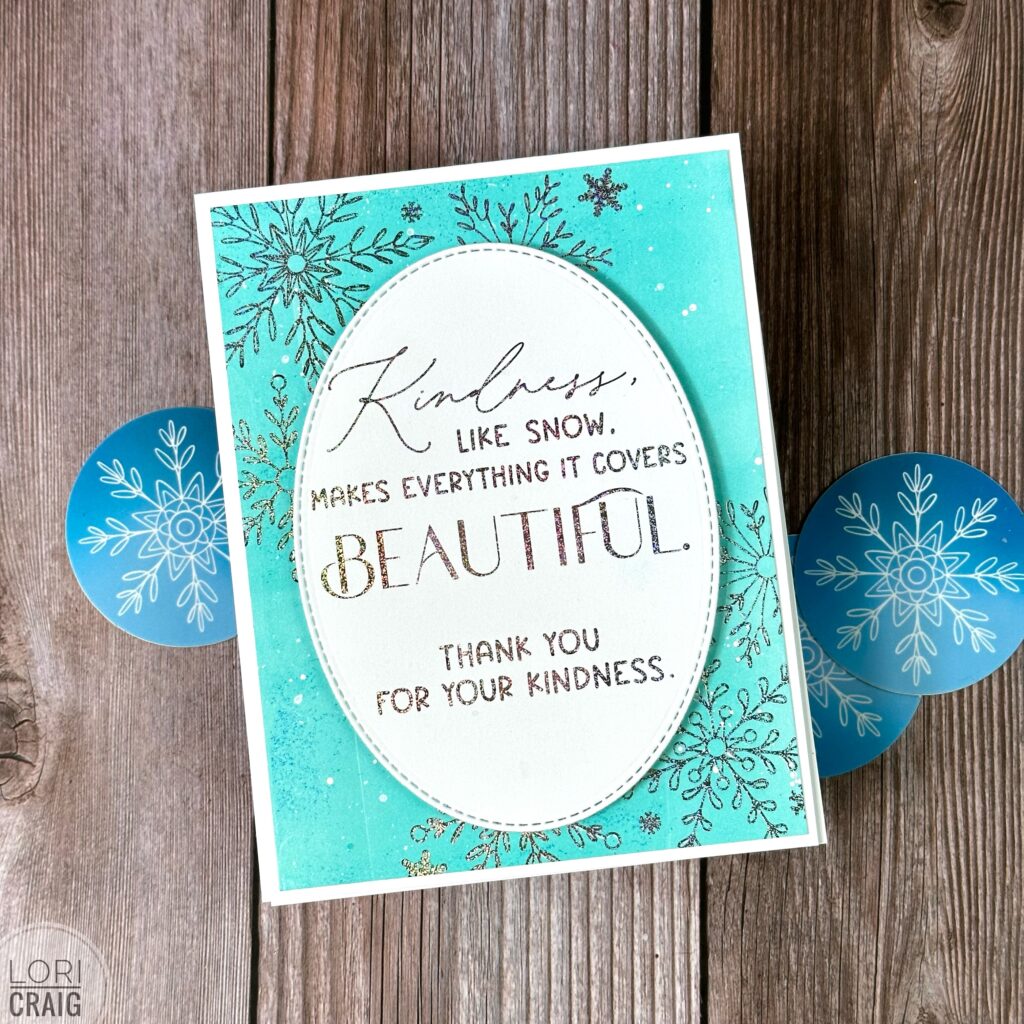
MY last card shares another option with the Foil It panels. This collection is wonderful for detailed, gorgeous cards that come together quickly. For this one, I simply added a frame accent foiled sentiment.
I hope you’ve enjoyed this blizzard of color with the Snow Crystal Kit from TE. The kit is available while supplies last. I expect the sell-out will be faster than normal. It’s just so versatile and perfect for winter! Bundle up, friends! It’s officially winter card-making season! Thanks for stopping by!