
I can’t believe that we moved into this house two years ago this month! I’d say it is past time to give you a craft studio tour, but it has taken a while for me to pull things together!
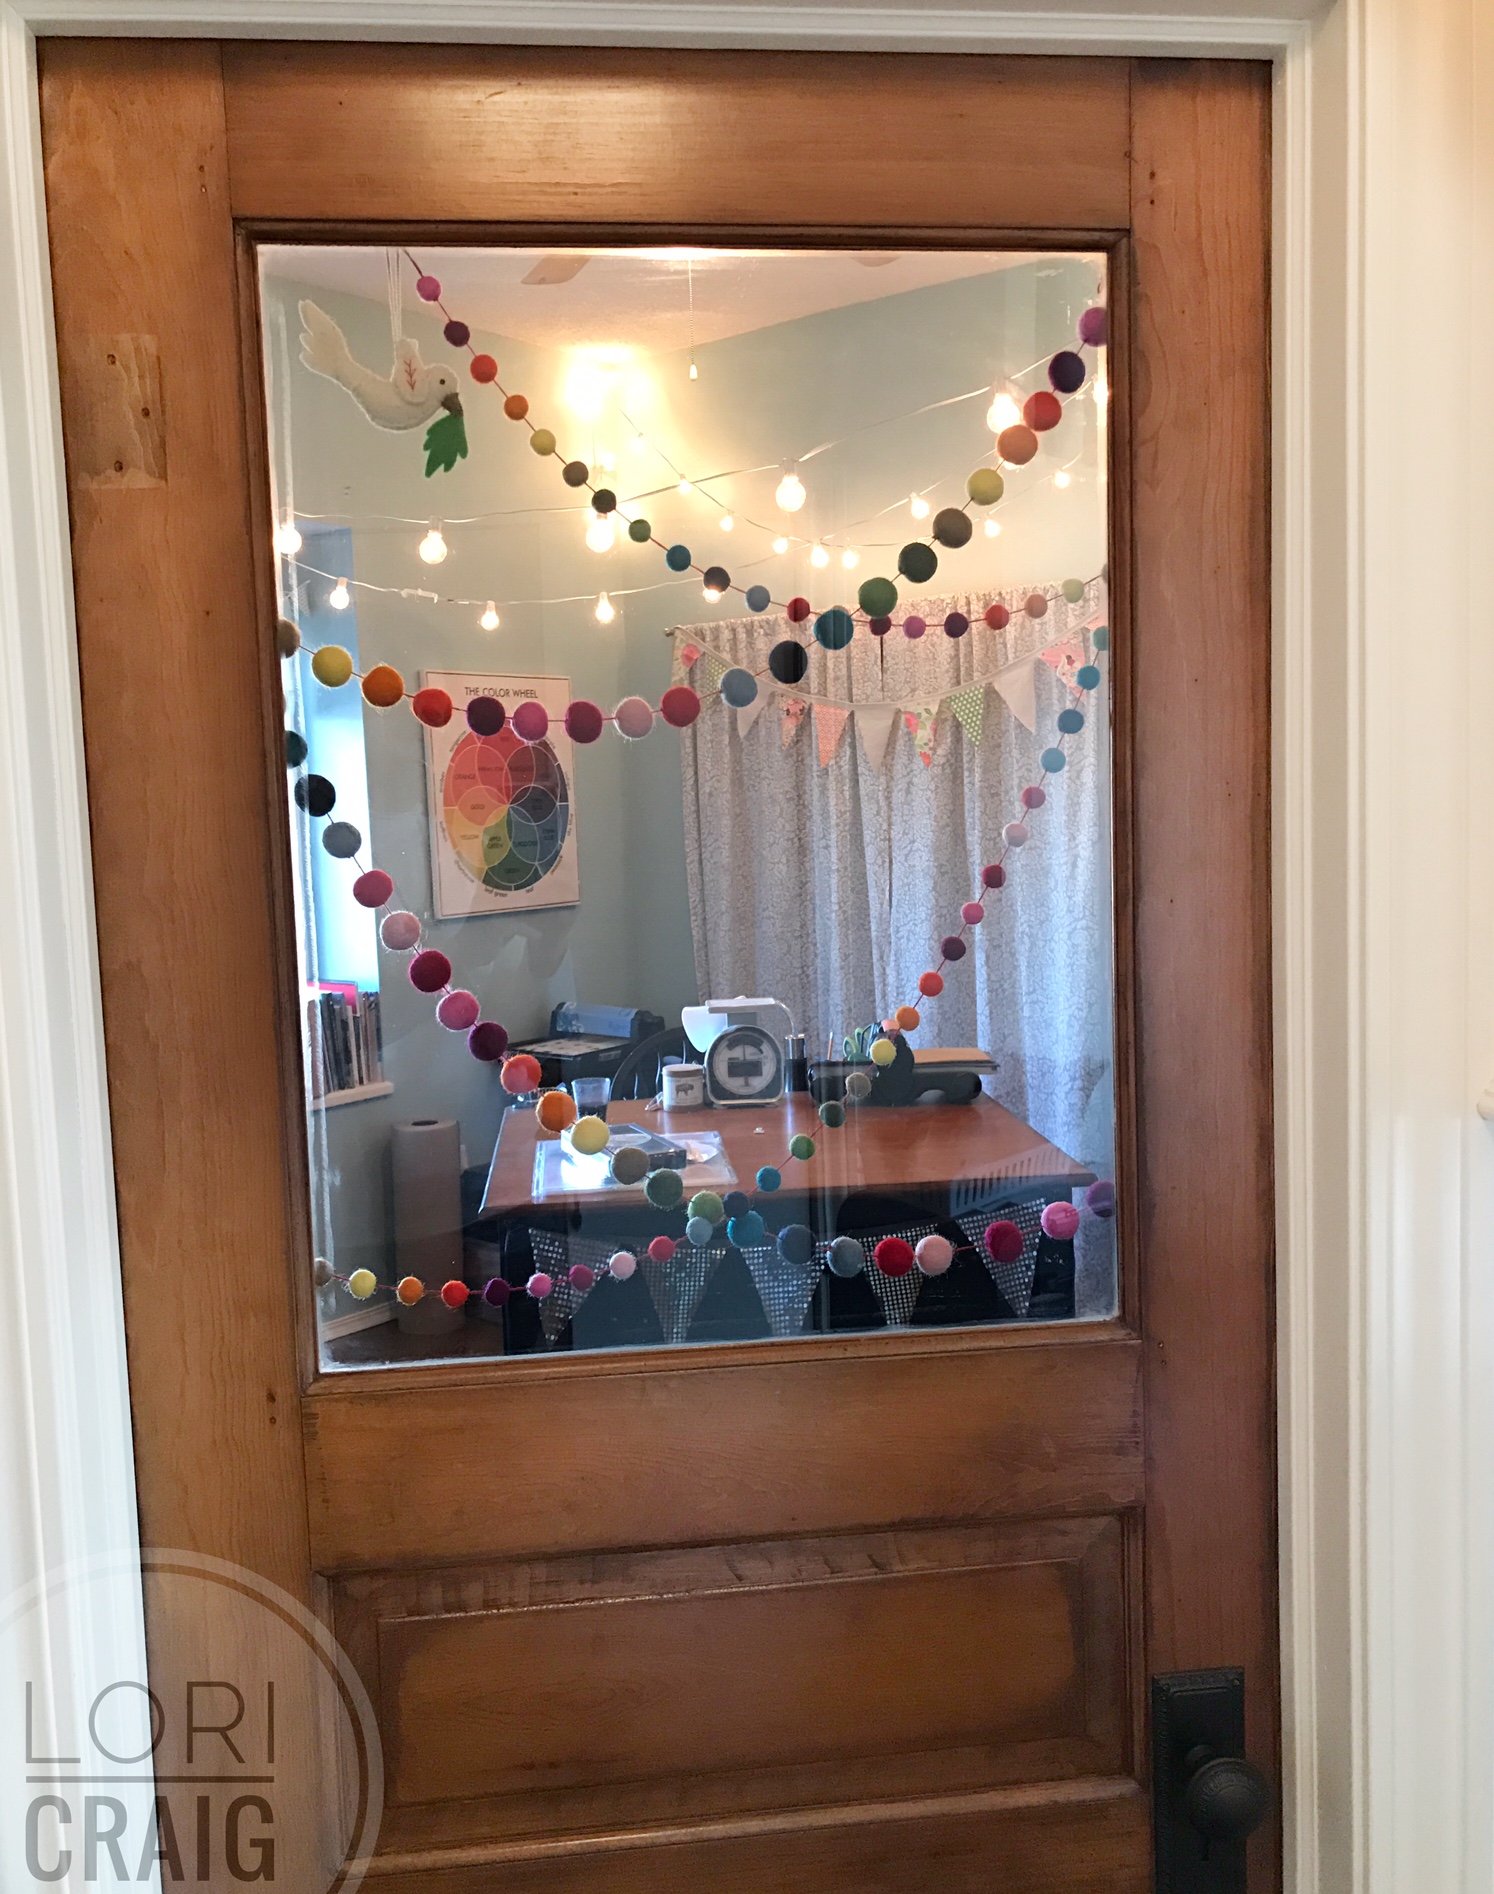
My studio is right off of our kitchen, so I spend a lot of time in here and I also feel very fortunate to have this room so close to the central hub of our home. When we moved into this house, I replaced many of our interior doors with old 5-panel doors that I brought from my last house. The doors had been in the attic of our 100 year old Victorian, and I sent them straight to the moving truck when we left. This windowed door came from my grandparents’ old farm house before it was torn down about 12 years ago.
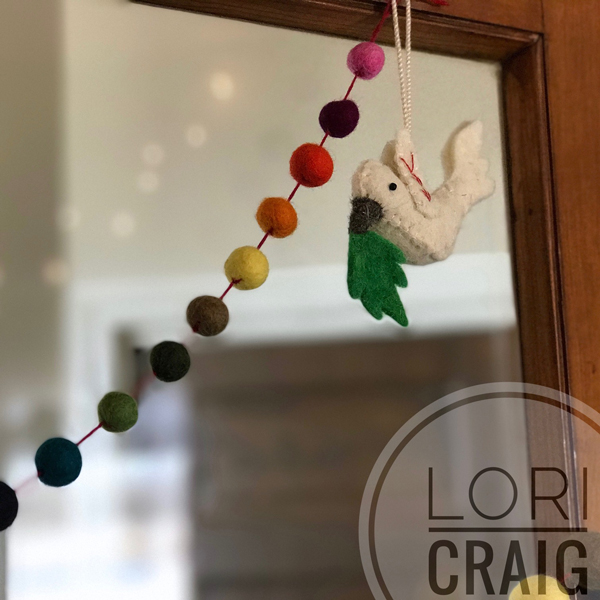
In December I made a daytrip to the Pioneer Woman Mercantile with my friend Laurie Willison, and I feel in love with this felted rainbow garland. I thought this would be perfect to drape over the inside of the window. The felted dove and fig leaf ornament find was icing on the ROYGBIV cake. (Genesis 8:11) So hard to photograph things resting on or through glass!)
Come on in, and I will show you my space… It is definitely meant to be functional for me and that means I have a lot of my stuff visible so that I will use it, but I do try to keep things picked up and somewhat organized since it is open to our kitchen. This is also something that has come together over a long period of bargain hunting. 🙂
Over the last twenty years that I have been stamping, my creative space is constantly ebbing and flowing … For several years I was in an unfinished basement on a folding table and then I moved to a closet – literally sitting inside a closet, and I didn’t enjoy crafting any less back then. My hope is that you’ll find snippets of rooms you see and find a way to make whatever space you have a happy place for you!
My studio in the Victorian was actually open to the kitchen – no door closure to hide the mess. I shared shared the transitions of that space several times on my blog over the last 10 years. I started with this room and a closet and completed a renovation to that house in 2013 – you can see my built-in desk from that renovation on this post. You can see a tour of that home including the full office here – The office photos are near the bottom, and you’ll notice how I’ve re-used many of the same pieces in my new office area.
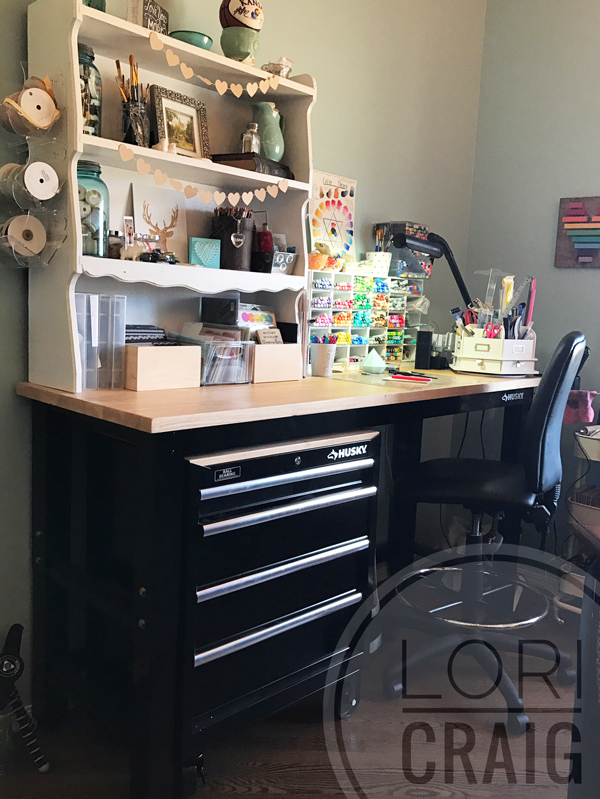
When you come into the office and to the left, I have my work desk. This was the piece that took the longest for me to procure after we moved in. The desk in my old space had been built-in, so I worked for almost two years in this house on a folding table that was lifted on bed risers from Walmart.
I’m 6’1″ tall, and I really prefer to have something I can stand at to work with drawer space close at hand, plus my husband had given me this rolling bar-height stool for Christmas several years ago. I didn’t want to replace it. The desk also needed to be black, and I wanted it to be on casters. I wanted something moveable this time.
After searching high and low for almost a year and a half, my husband convinced me to try a workbench from Home Depot and a tool chest – this is two separate pieces. His rationale was that it would let me get comfortable and afford me time to look for something perfect, and then move this to the garage for my outside, messy projects when that happened. I’m not looking anymore. This works really well for me!
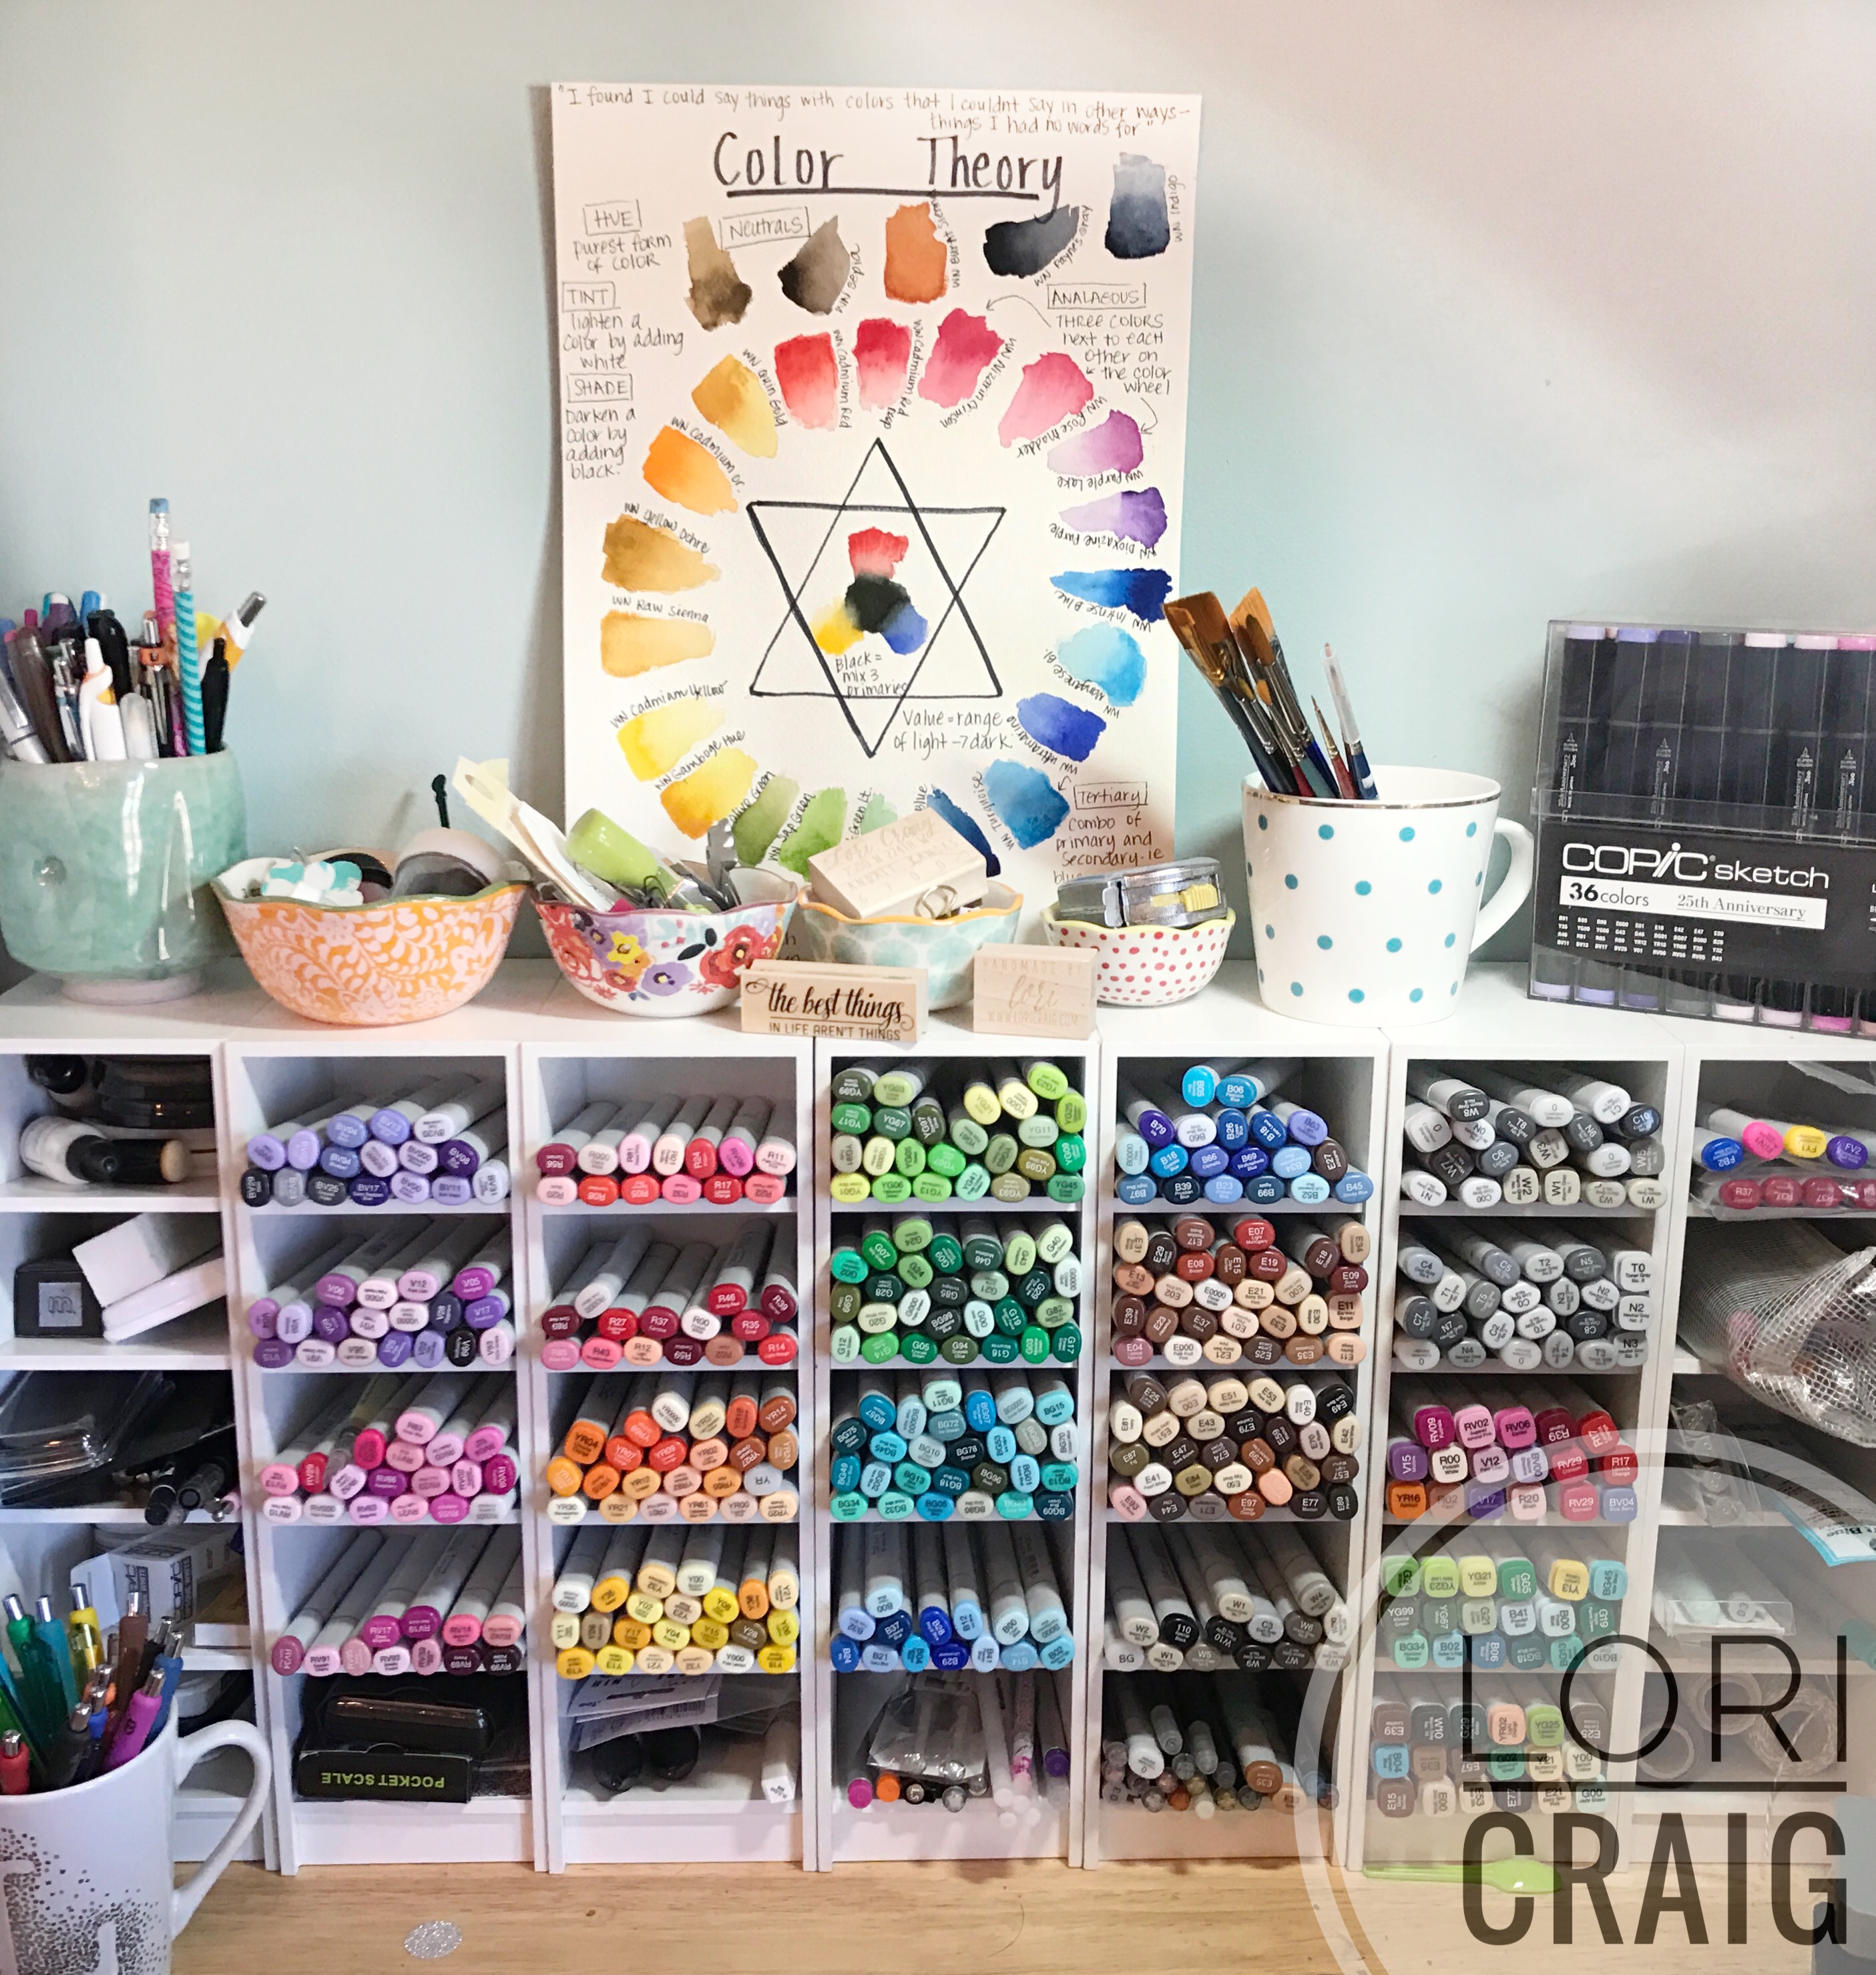
This hotmess is where I sit to color and create! I have a lot of tools right at my fingertips.
My Copic Markers are stored in Color Cubbies from a company called Studio 3. Sadly, they are out of business, and I feel fortunate to have procured all that I need for my space. My friend Brett at Stamp-n-Storage makes a beautiful, similar product for Marker Storage. You may store Copic Markers in whatever way works for you. I prefer to have them in a flat position so that I can see the cap colors and numbering system. Here, I have extra spots for a scale to make Copic refilling quick and easy, ink pads, tweezers, MultiLiner ink pens… lots of fun stuff!
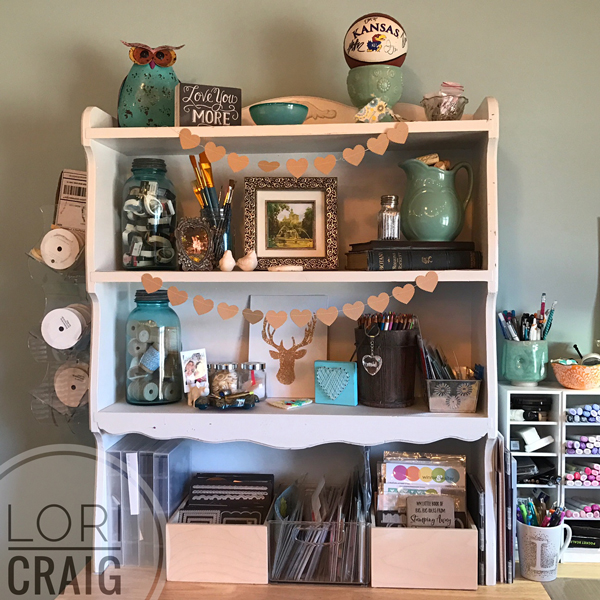
Just to the left of that workspace is a shelf that holds a few things I’ve made and extra supplies. It’s cluttered but functional. My goal is to add a small wall storage shelf for some of these items – eventually I would guess that I will clear some of them out all together. Organization is an on-going process… always evolving.
The wooden bins on the bottom row are Magnetic Die Totes from Stamp-n-Storage. (You can read a Splitcoast Product Focus review of that product here.) The clear tote holds newer stamps and supplies I want to use soon! Always something fun waiting for me in that bin!
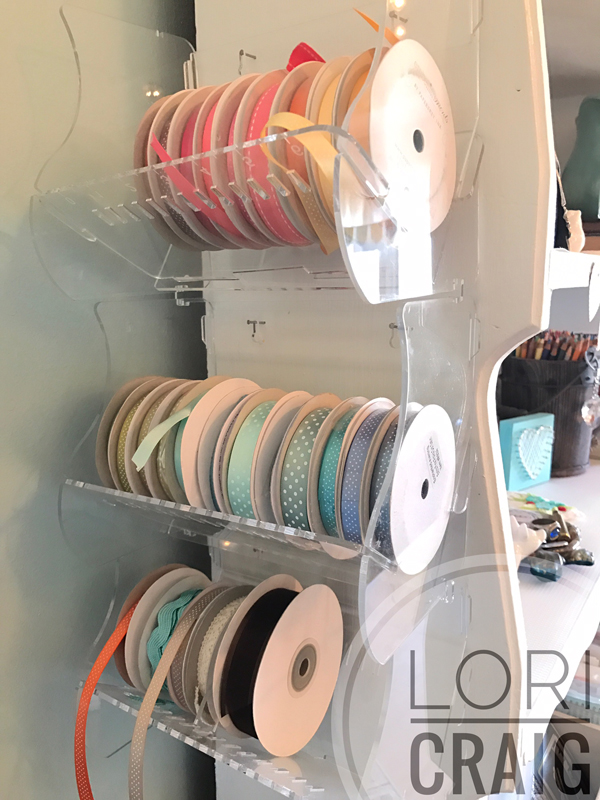
On the left side of the white shelf unit, I have attached three racks from Ribbon Roll Control. I have had these units since we did a Product Focus review for them at Splitcoaststampers almost five years ago! They have held up beautifully. I love the clear acrylic and the functionality.
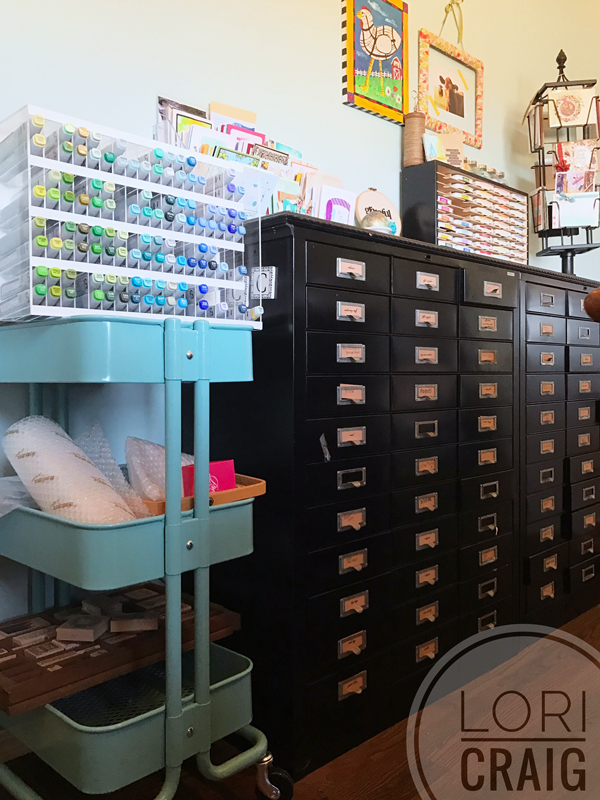 On the opposite side of the room, I have my Roskog Ikea cart that holds clear acrylic Copic Various Ink Refills. These were storedisplay units, and I’m happy to have them! The cart also holds some shipping supplies and a small tray of wood mounted stamps.
The black cabinets were salvaged from an office that my mom and I worked in back in the 1990s. The drawers hold some papercrafting items, as well as general house stuff – batteries, packing tape, old cell phones, etc. I wish I could tell you things were in alpha order, but they have been helter-skelter so long that everyone in the house is very familiar with batteries in row 2, 8 drawers down… LOL
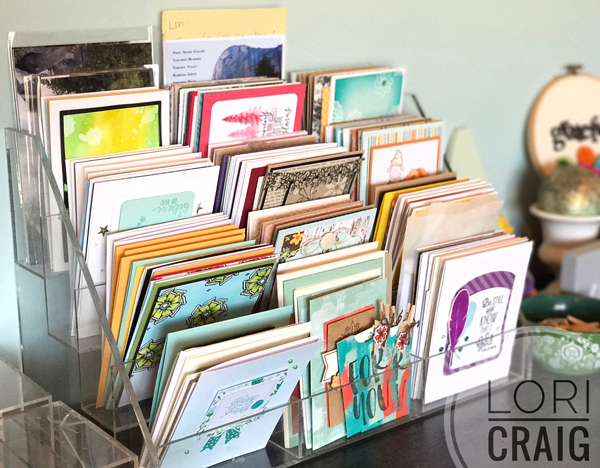
I picked this clear acrylic stair-stepped holder up at a jewelry store that was closing last Christmas for $2. Score!
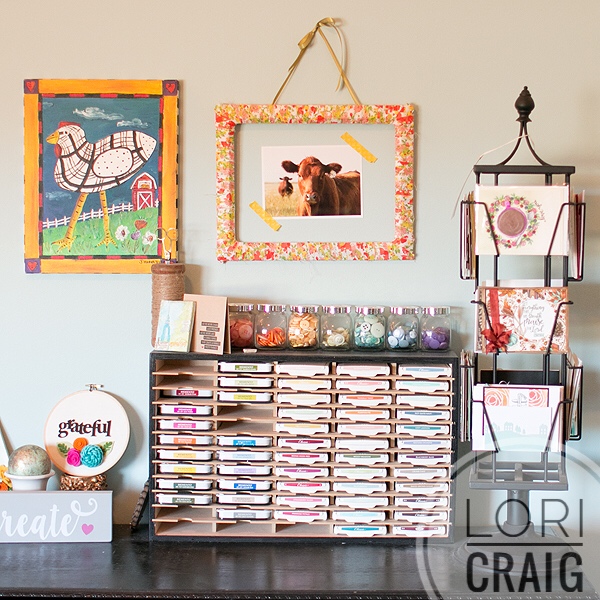
The ink pad storage is from Stamp-n-Storage. I painted mine, and provided a painting wood tutorial here. Lots of knick knacks here… The picture frame is wrapped with strips of fabric. The chicken acrylic painting was a 30th birthday gift from my friend Jenni Horne – way back when I was 30 – long before either of us blogged or shared online. #treasure
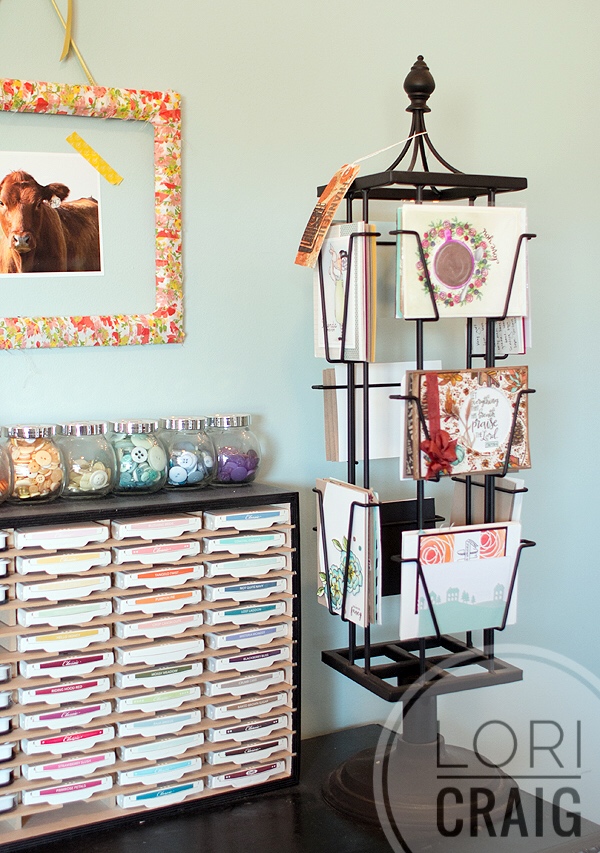
The revolving card display was a Pottery Barn purchase 5 or 6 years ago.
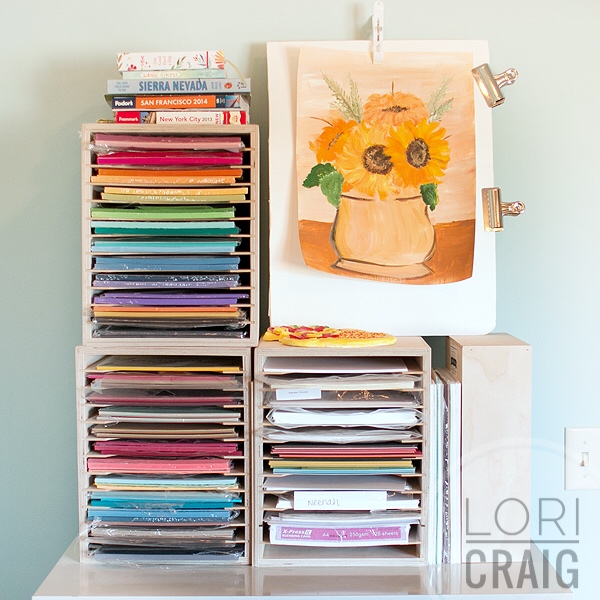
Finally, as I come back toward the door of the studio, I have Stamp-n-Storage Paper Holders waiting to be fixed up, painted, etc… but still fully functional! I do have an idea for these with the Tommy Art Paints I shared last week, but this gives you a nice before for the coming-soon after! LOL
The sunflowers were my first (and thus far only) attempt at acrylic stilllife painting from last summer. My nephew is making a frame for me… at least I hope he is still making a frame for me! I need to put another bug in his ear.
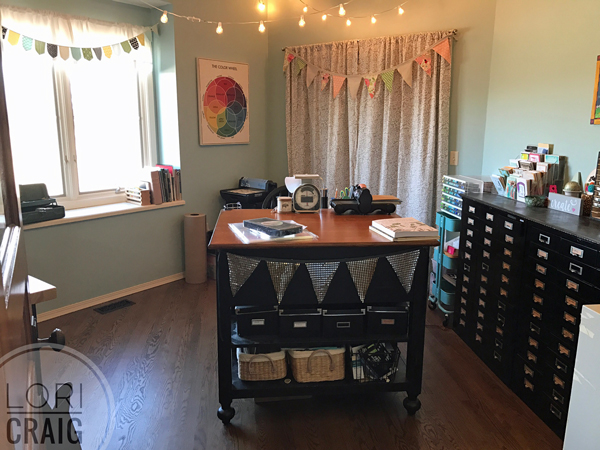
The island in the center of the room service a host of purposes, and probably my favorite is the slide-out desk and chair at the other end for my daughters to sit with me or for visiting stamping friends.
I’m working on another organization post to show you some of the hidden tools and my solutions for more cluttery supplies, so I’ll say I’ll be back soon with updates, painted pieces and ideas for stamps, embellishments, supplies, etc.
Thanks for stopping by! Have a great day!


10 responses to “Craft Studio Tour”