
Something fun to share today… Several months ago Mary at Serendipity Stamps asked me if I would consider putting together some sentiment sets for her to coordinate with some stamp images that she had recently released. First I was honored, and second, I had never considered that before. But I thought, why not try? And, this week, I am sharing a few of my favorite sentiments with you!
 Of the sets I have created for Serendipity Stamps, Uplifting Words is my favorite! Great encouragements and well-wishes here that would work well for balloons, clouds, birds in the breeze…
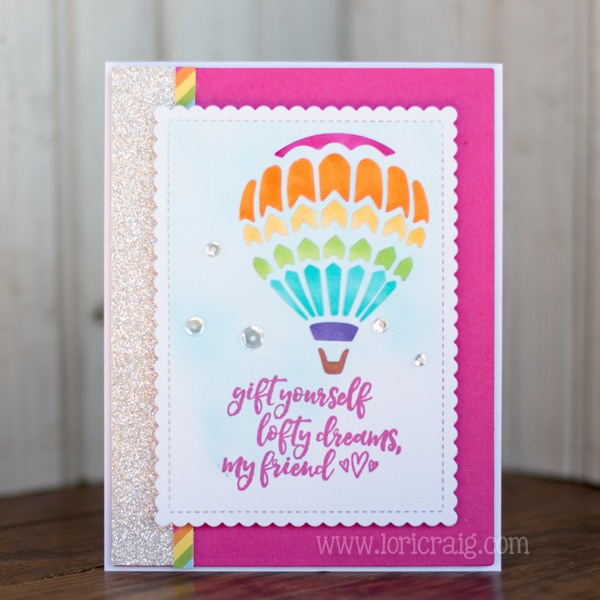
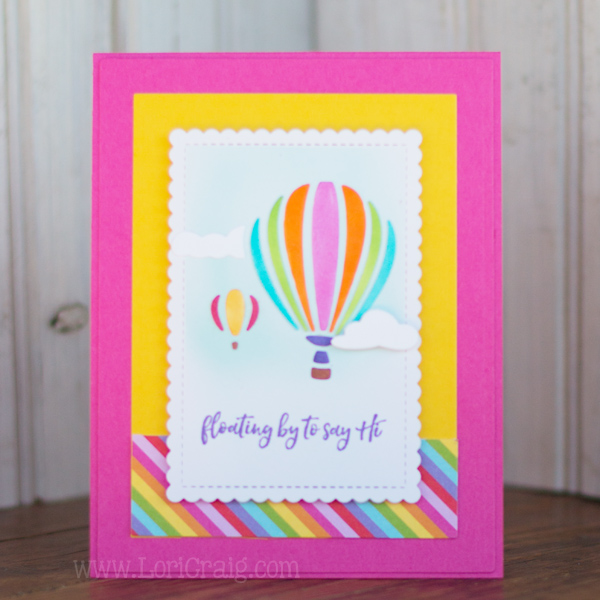
I’ve paired it on these projects with balloon elements from the Hot Air Balloon Reverse Die. The balloon is colored with Copic Marker (RV17, YR04, Y15, YG23, BG45, V17 and E23). The sentiment is stamped with Taylored Expressions Lollipop Dye ink. The Lollipop pink cardstock and the striped Rainbow Bright striped patterned paper are both from Taylored Expressions. The Stitched Mini Scallop Frame Dienamics are from MFT. The glitter paper was a gift to me from a friend… I have been hoarding it, and I believe it is from Stampin’ Up!
 Hot Air Balloon Reverse Die is a plate that allows for a lot of creative flexibility… it cuts of both single hot air balloons or a full card-front negative. I lived in Des Moines, Iowa when I was a young girl, and I love going to the Indianola Hot Air Balloon Festival to watch scores of bubble beauties soar the Iowa plains. So pretty!
The balloon plate die does cut a LOT of little pieces (both of my cards today were created with the same die-cut – one piece of paper!) and those can be pesky to create with, so I reached into my bag of tricks for an incredible, paper-craft-life-altering tip from my friend and neighbor (love having her closeby!), Laurie Willison! Laurie has changed the way many people use intricate dies with her Press’n Seal – yes that stuff in your kitchen – Trick!
Laurie uses the trick a lot for easy arranging and adhering of multiple elements on a card front, and today, I’m sharing with you at the end of this post how Press’n Seal let me use a single cut from this die plate to make multiple
different cards!

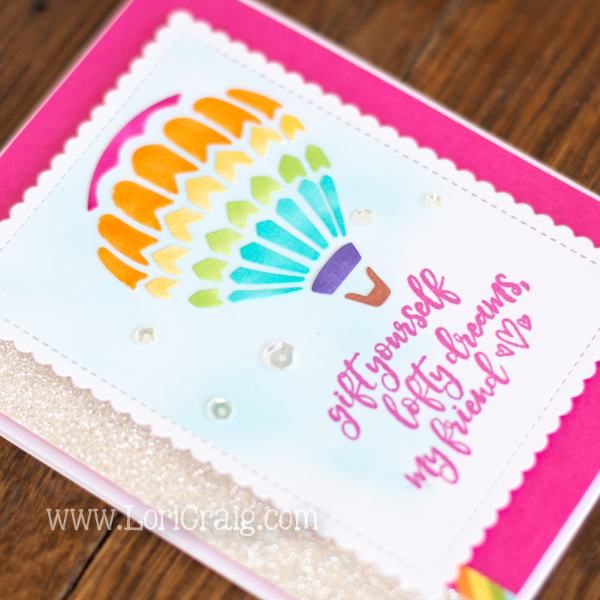
This is another card from the same single die-cut. I used the same marker colors to create this one, and Grape Jelly dye ink from Taylored Expressions. I thought I’d show you how I color these die-cut images and then transfer them to my card front quick and easy…
Press’n Seal Tutorial
Transferring Intricate Die Cuts
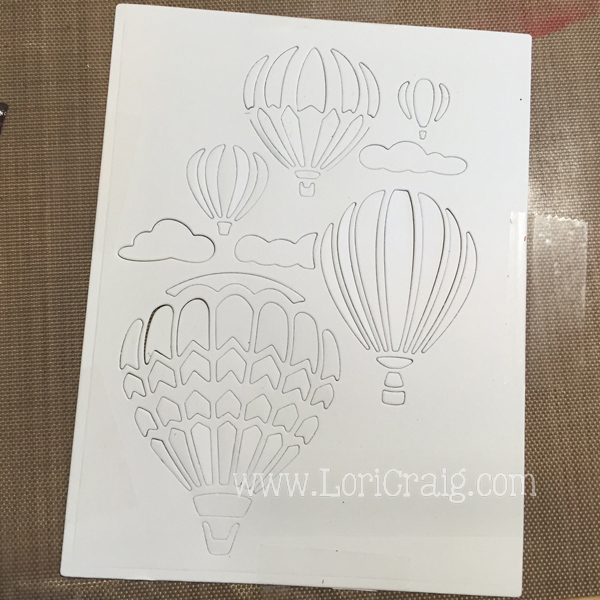
Cut full plate with die-cutting machine and tape the edges securely to kraft mat. Take care to keep pieces secure in the negative space. This is probably the trickiest part with smaller, intricate die-cut shapes. Use piercing tool to hold bits into place!
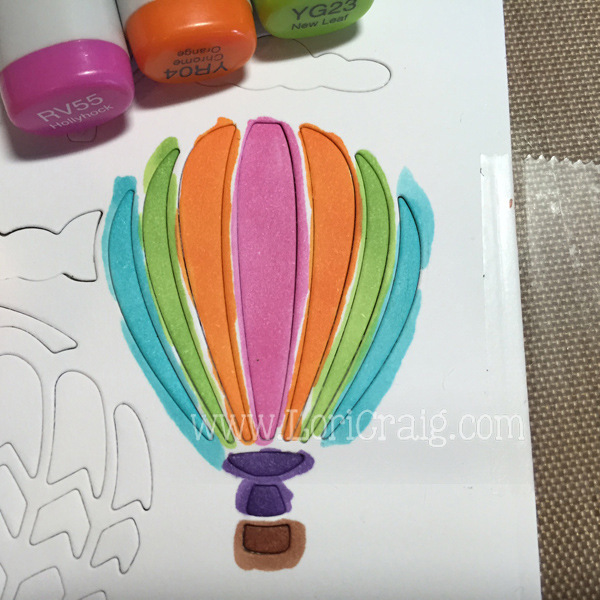
Color the pieces of the die cut that you wish to use with preferred media. Copic Marker used here and I didn’t have to be careful inside the lines – I only wanted the die cut pieces – RV55, YR04, YG23, BG45, V17 and E23.
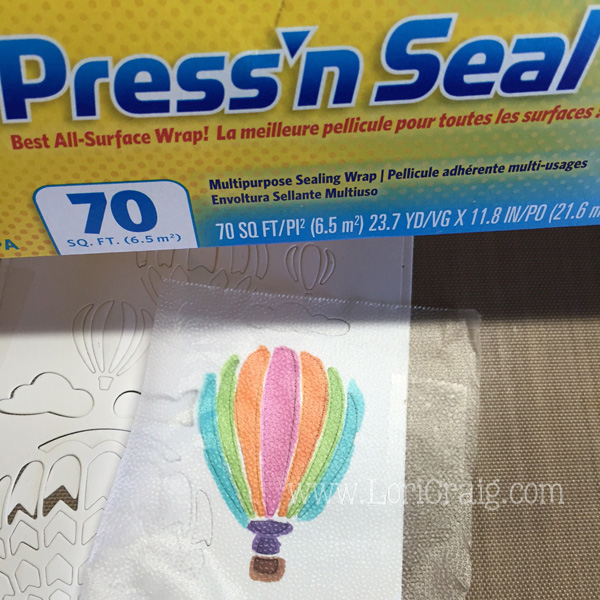
Place Press’n Seal over the top of the colored die cut pieces. Press firmly to catch the die pieces in the temporary adhesive.

Gently lift cut and colored pieces out, leaving “attached” to Press’n Seal to preserve spacial placement.
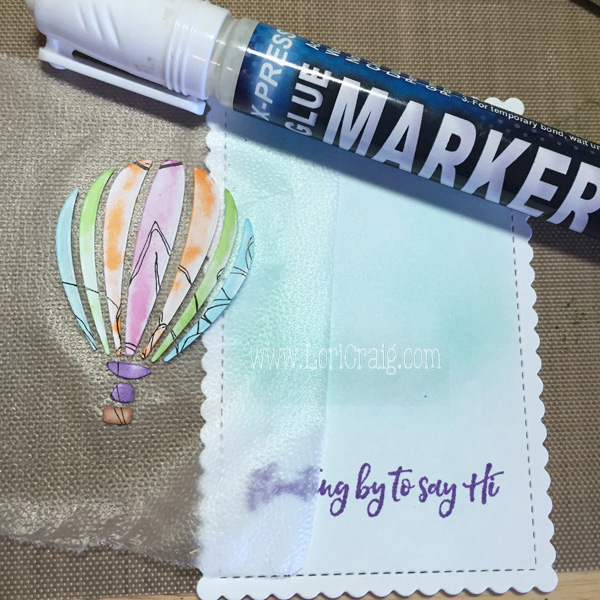
Use a wet adhesive with a small tip applicator to dot a minimal amount of glue to the back of the die cut pieces – X-Press It Glue Marker used here. (You have caught me recycling the backside of a previous mistake!)

Place lifted die-cut pieces on your card element and press with fingertips – over the top of the Press-n Seal to secure.
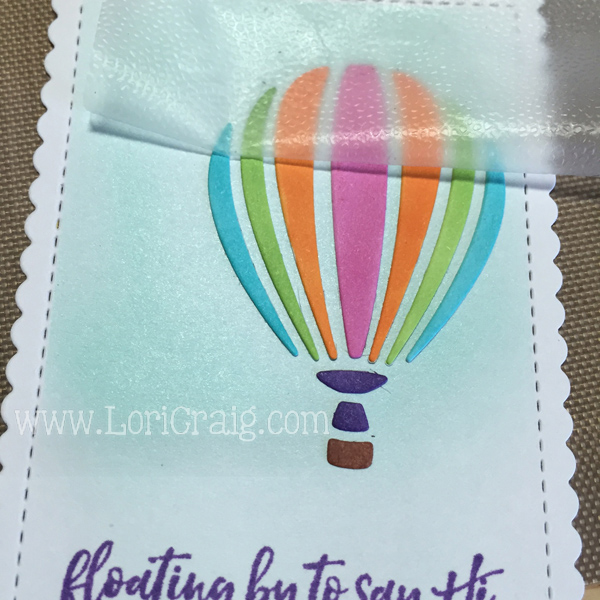
When you are confident that the wet adhesive has dried enough to hold your die cut elements in place (here just 2-3 minutes), gently lift Press’n Seal away from card element, leaving the die cut glued in place.
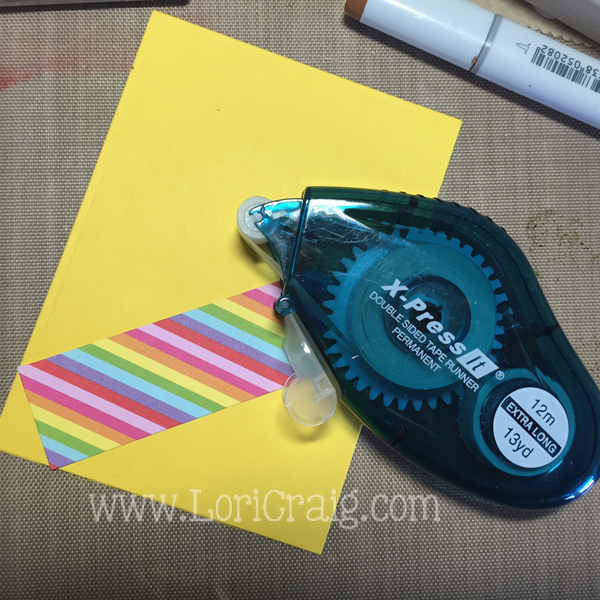
A great dry-on-dry adhesive for card elements is the Xpress-It Double-Sided Tape Runner. Easy to use, economical, strong permanent bond and NO mess!

Use a foam adhesive (X-Press It 1/2″ Foam Tape used here) to “pop” the focal image layer up on the card front.
Here you see my finished second card! I hope you’ve enjoyed these projects from Serendipity! I’ll be back tomorrow with a different look and more fun tips! Have a wonderful day!
Thanks for stopping by!


2 responses to “Floating By – fun news & an intricate die tutorial”